

Authenticate and launch JupyterLab
This guide provides a basic overview of how to log in to your Nebari instance (through Keycloak) and launch JupyterLab on a new server (ie., machine).
1. Connect to your Nebari instance
Section titled “1. Connect to your Nebari instance”Navigate to the instance homepage.
Once on the site, you will be prompted to log in, similar to the login page shown in the image below. The text on this screen is configurable so your deployment may look slightly different.
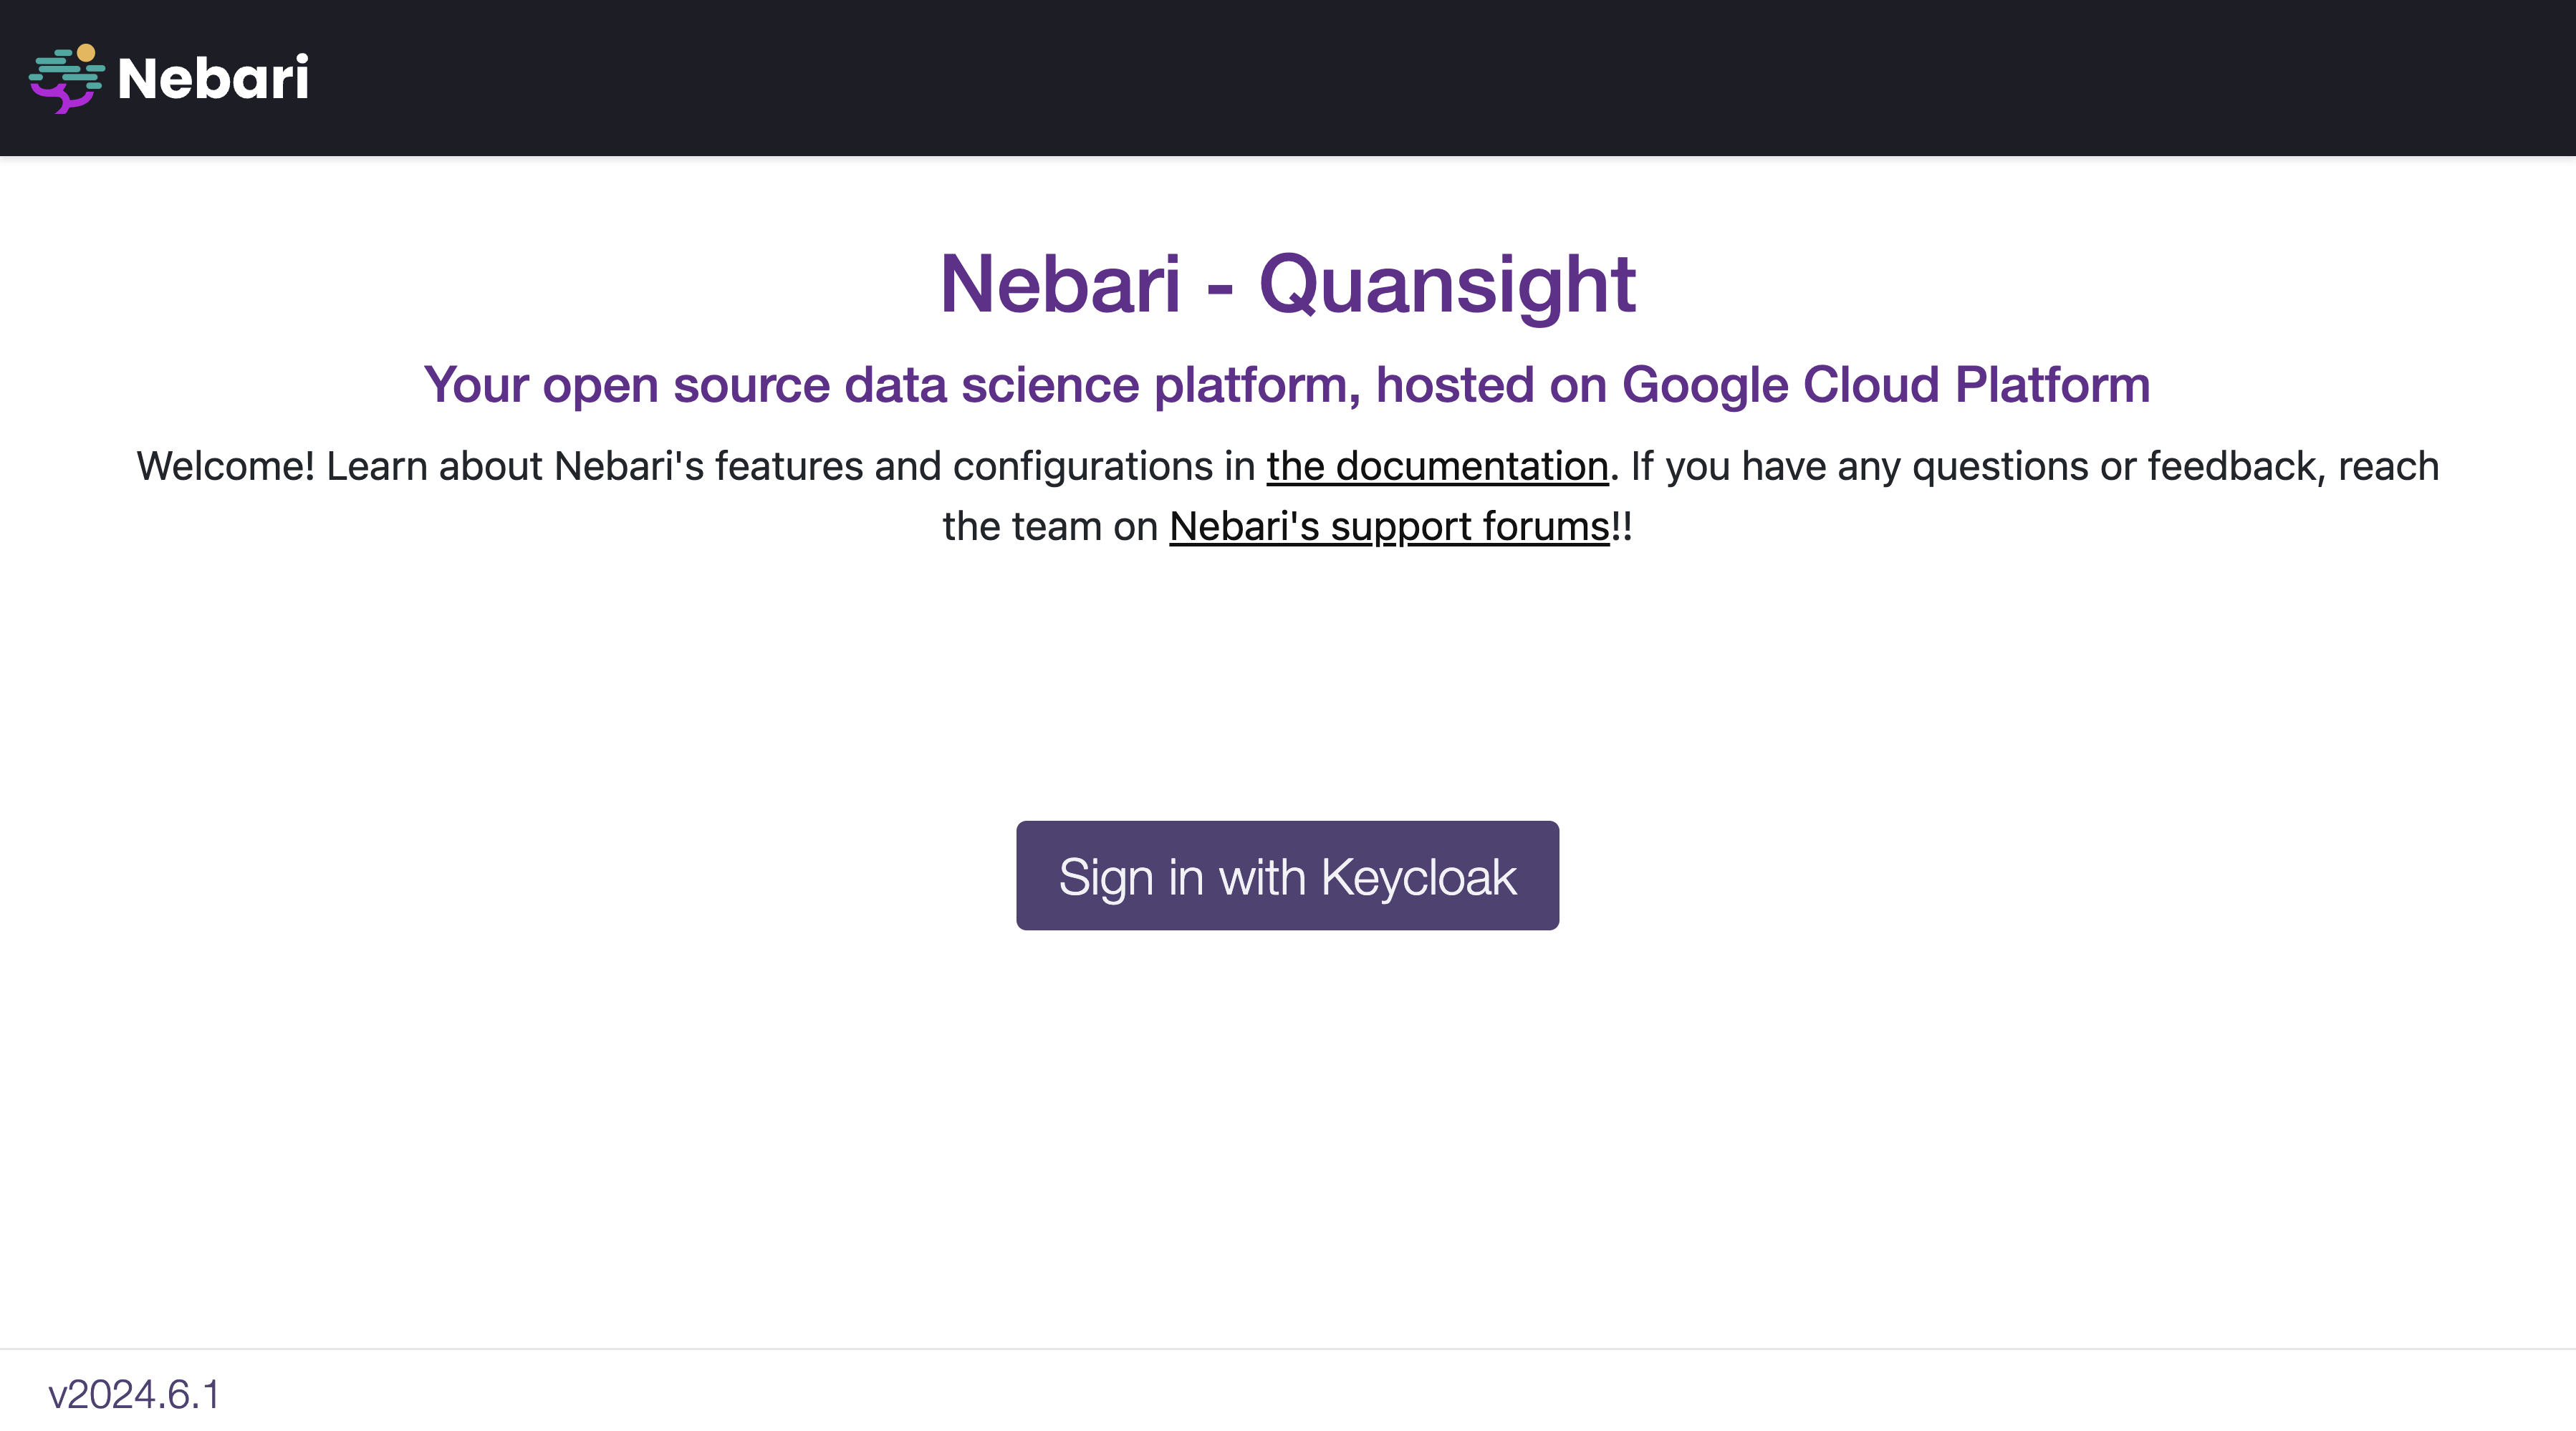
Nebari uses Keycloak, an open-source identity and access management tool. Keycloak is a centralized location for administrators to add new users, create user groups and update roles. For more information, see the How to Configure Keycloak docs.
2. Authenticate with your provider
Section titled “2. Authenticate with your provider”At this stage, it is a little challenging to provide thorough instructions because the particulars will depend on your identity provider / authentication provider (LDAP, OAuth 2.0, passwordless authentication, password-based authentication and many others).
For more information on how to configure Keycloak, and add new users, review the How to configure Keycloak sections of the docs.
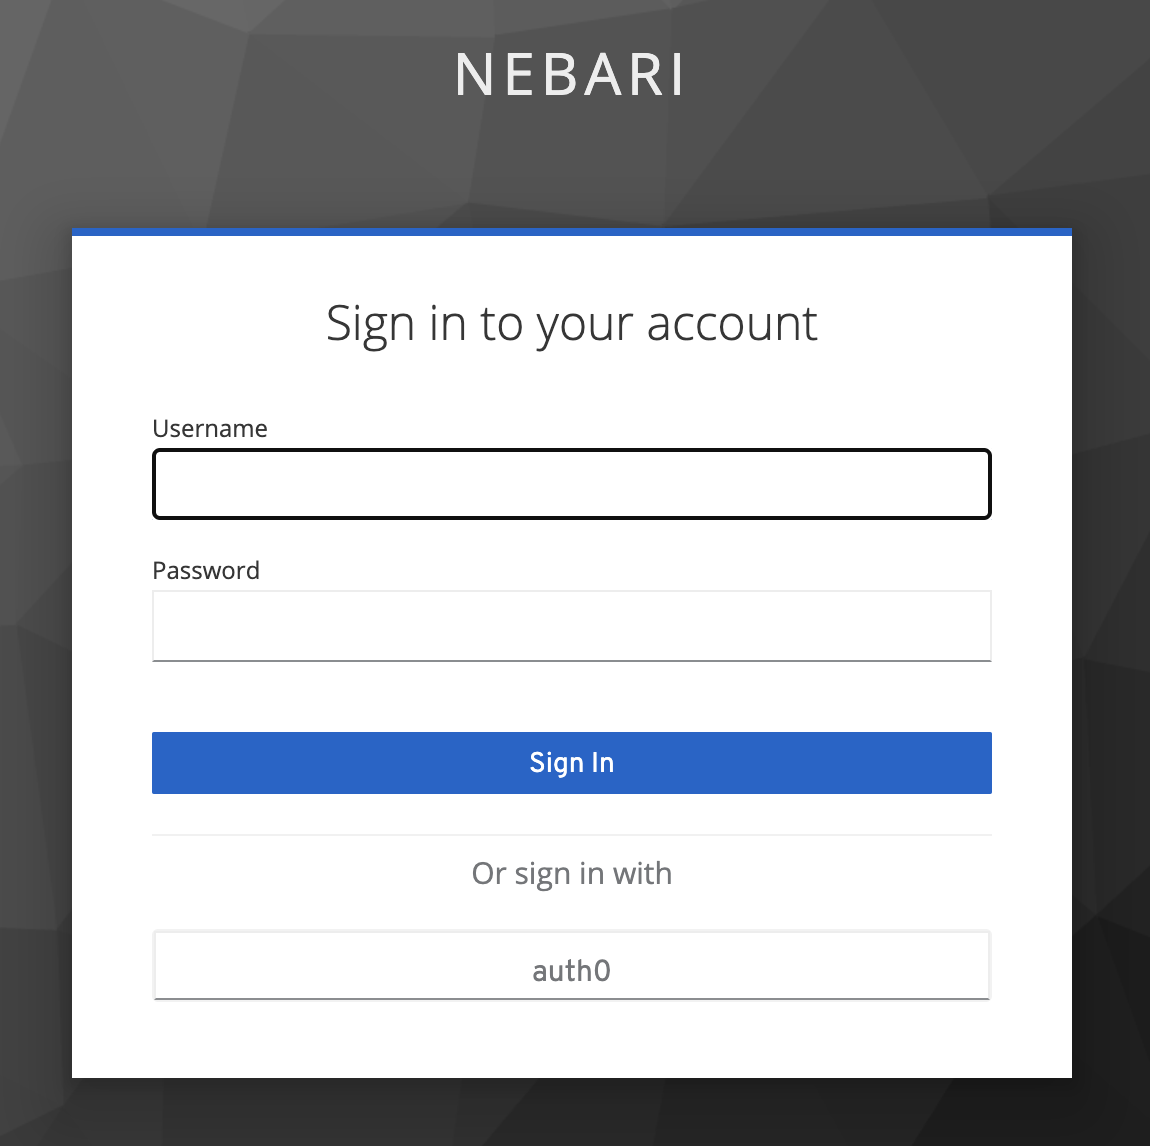
In this example, Auth0 is the identity provider.
To continue the login process,
select the Auth0 button and login.
3. Navigate the landing page
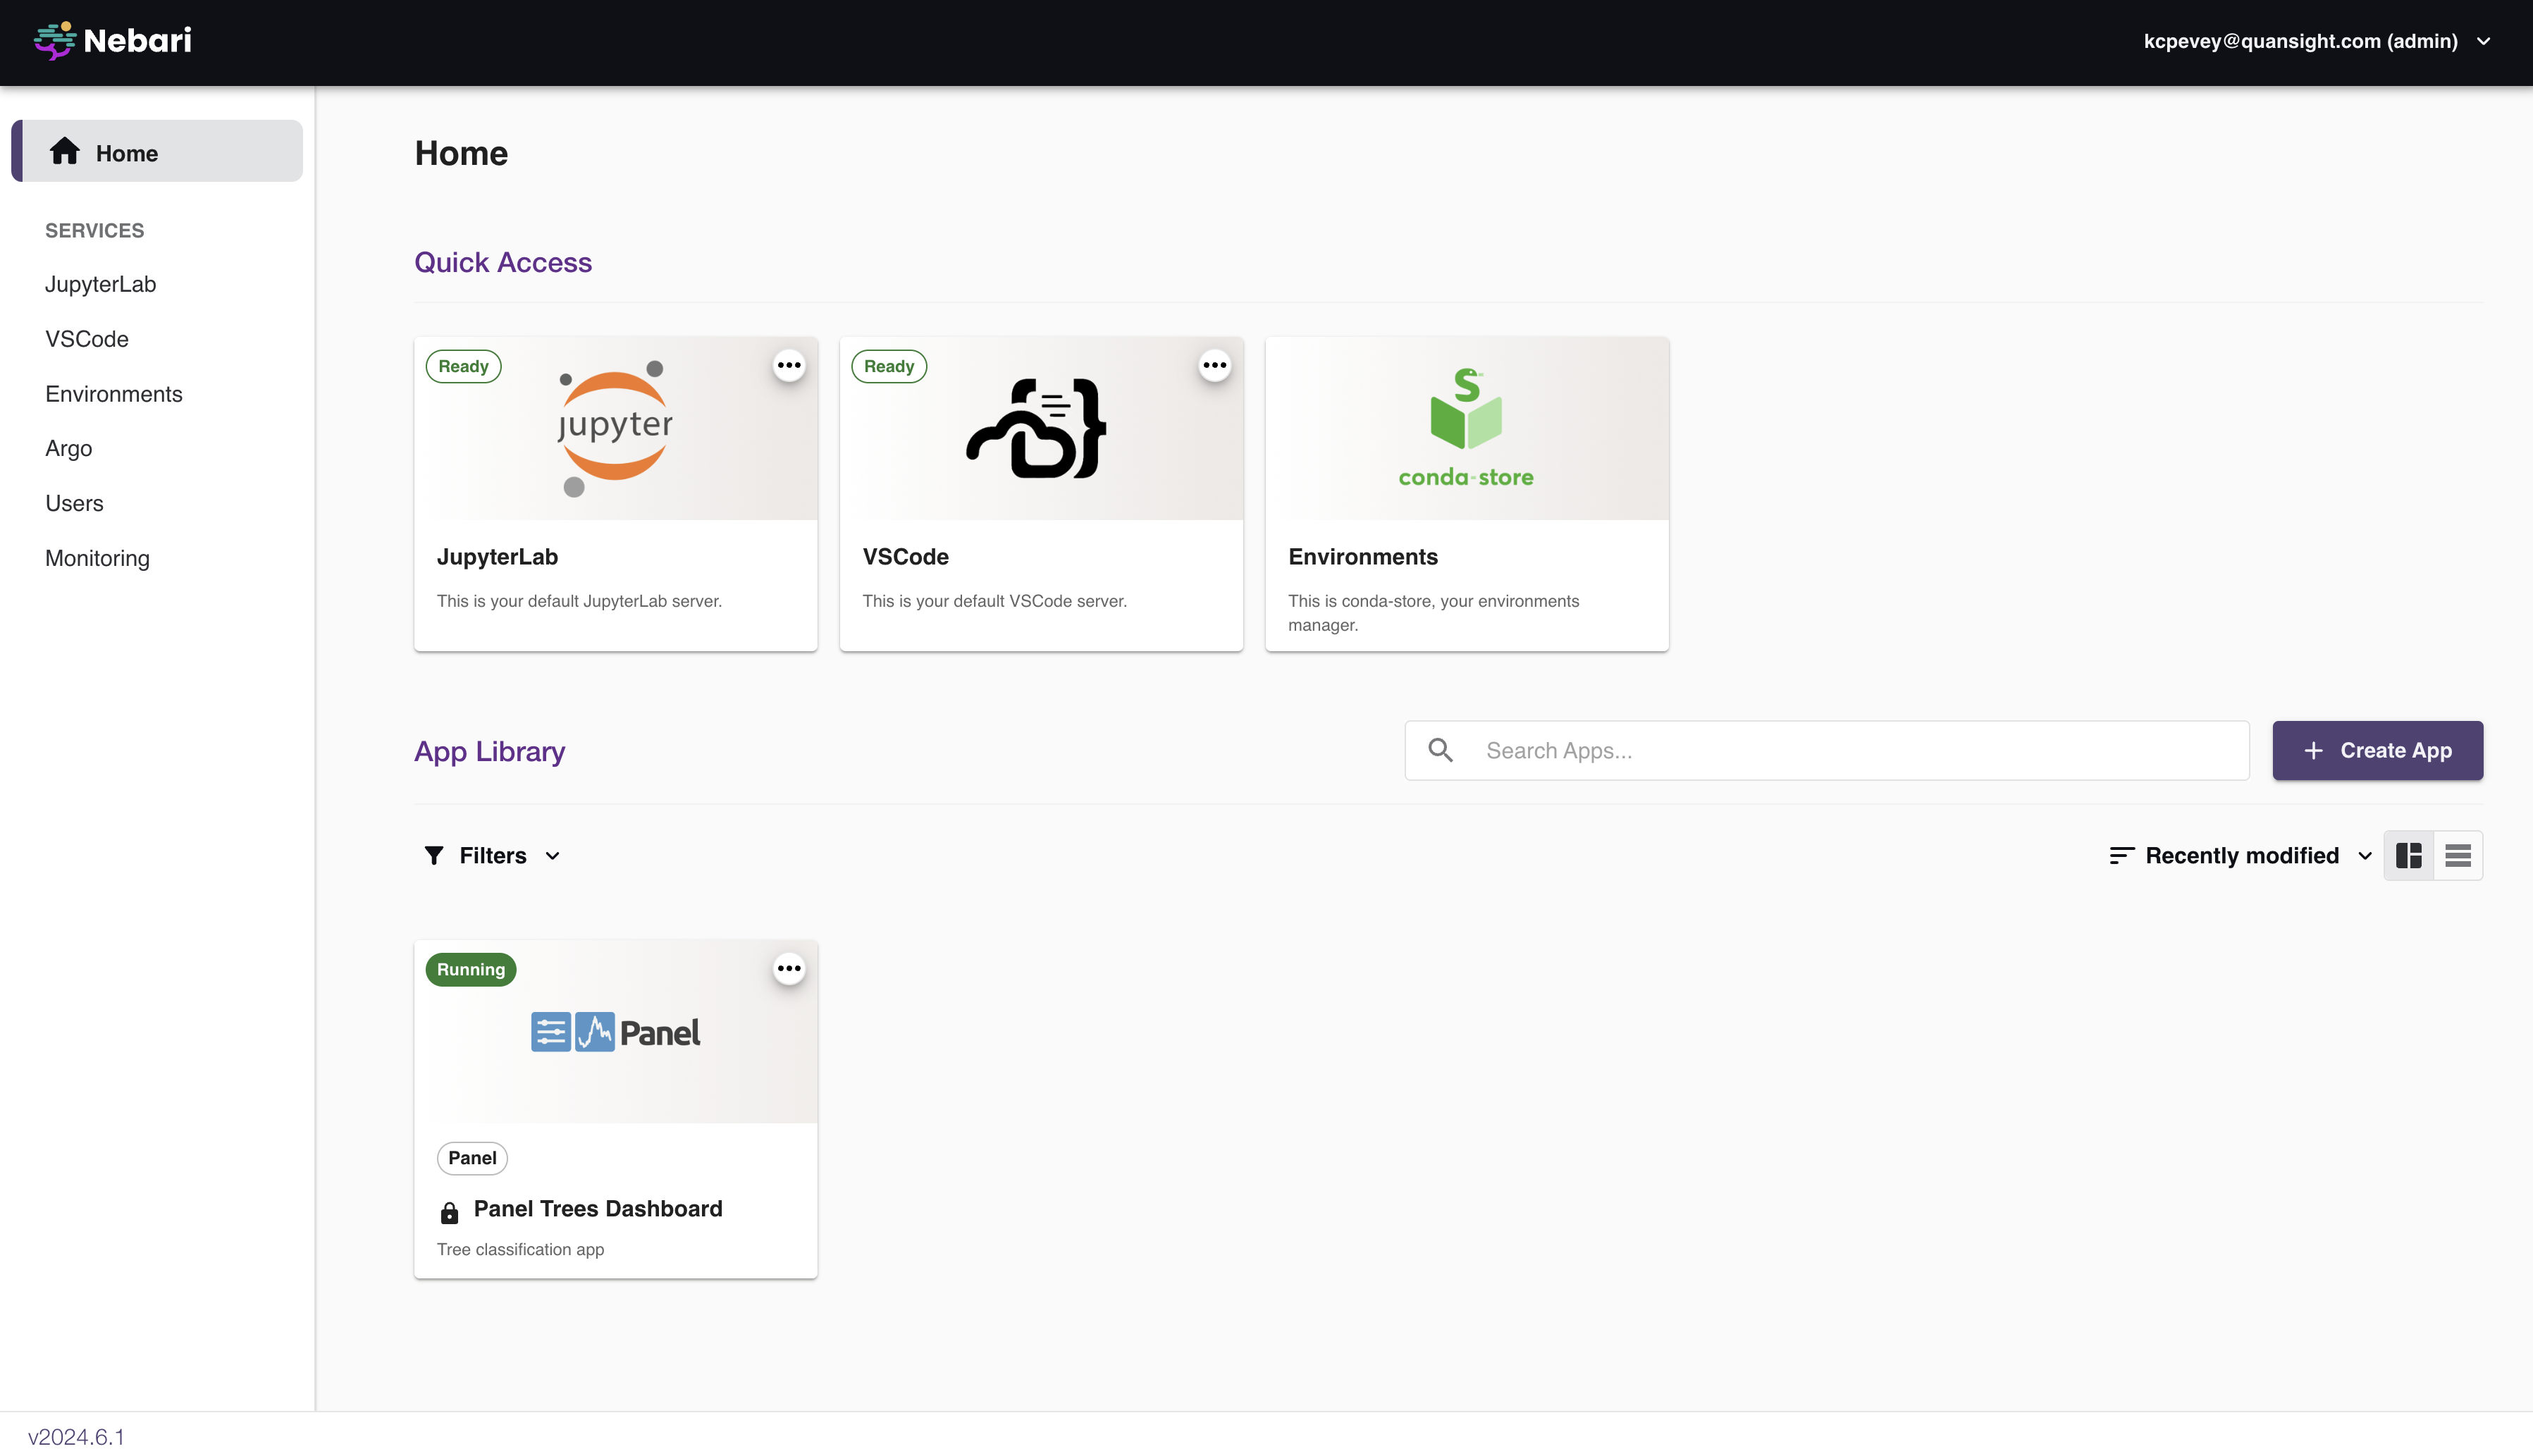
Section titled “3. Navigate the landing page”Once authenticated, the Nebari home page opens. The home page, also referred to as "Landing page", "JupyterHub launcher", or "App Launcher", lists Nebari's core services and allows you to create and share web apps.
Click on the "JupyterLab" button under "Quick Access" to start a server and launch JupyterLab:
Launch a new server
Section titled “Launch a new server”Landing page to Launch server:

Click on the Launch Server button to select a profile and launch JupyterLab.
4. Select a profile
Section titled “4. Select a profile”The customized profiles (also called "instances", "servers" or "machines") will give you access to fixed cloud resources as mentioned in the list.
These options are configured by your administrator, learn more in the Profile Configuration documentation.
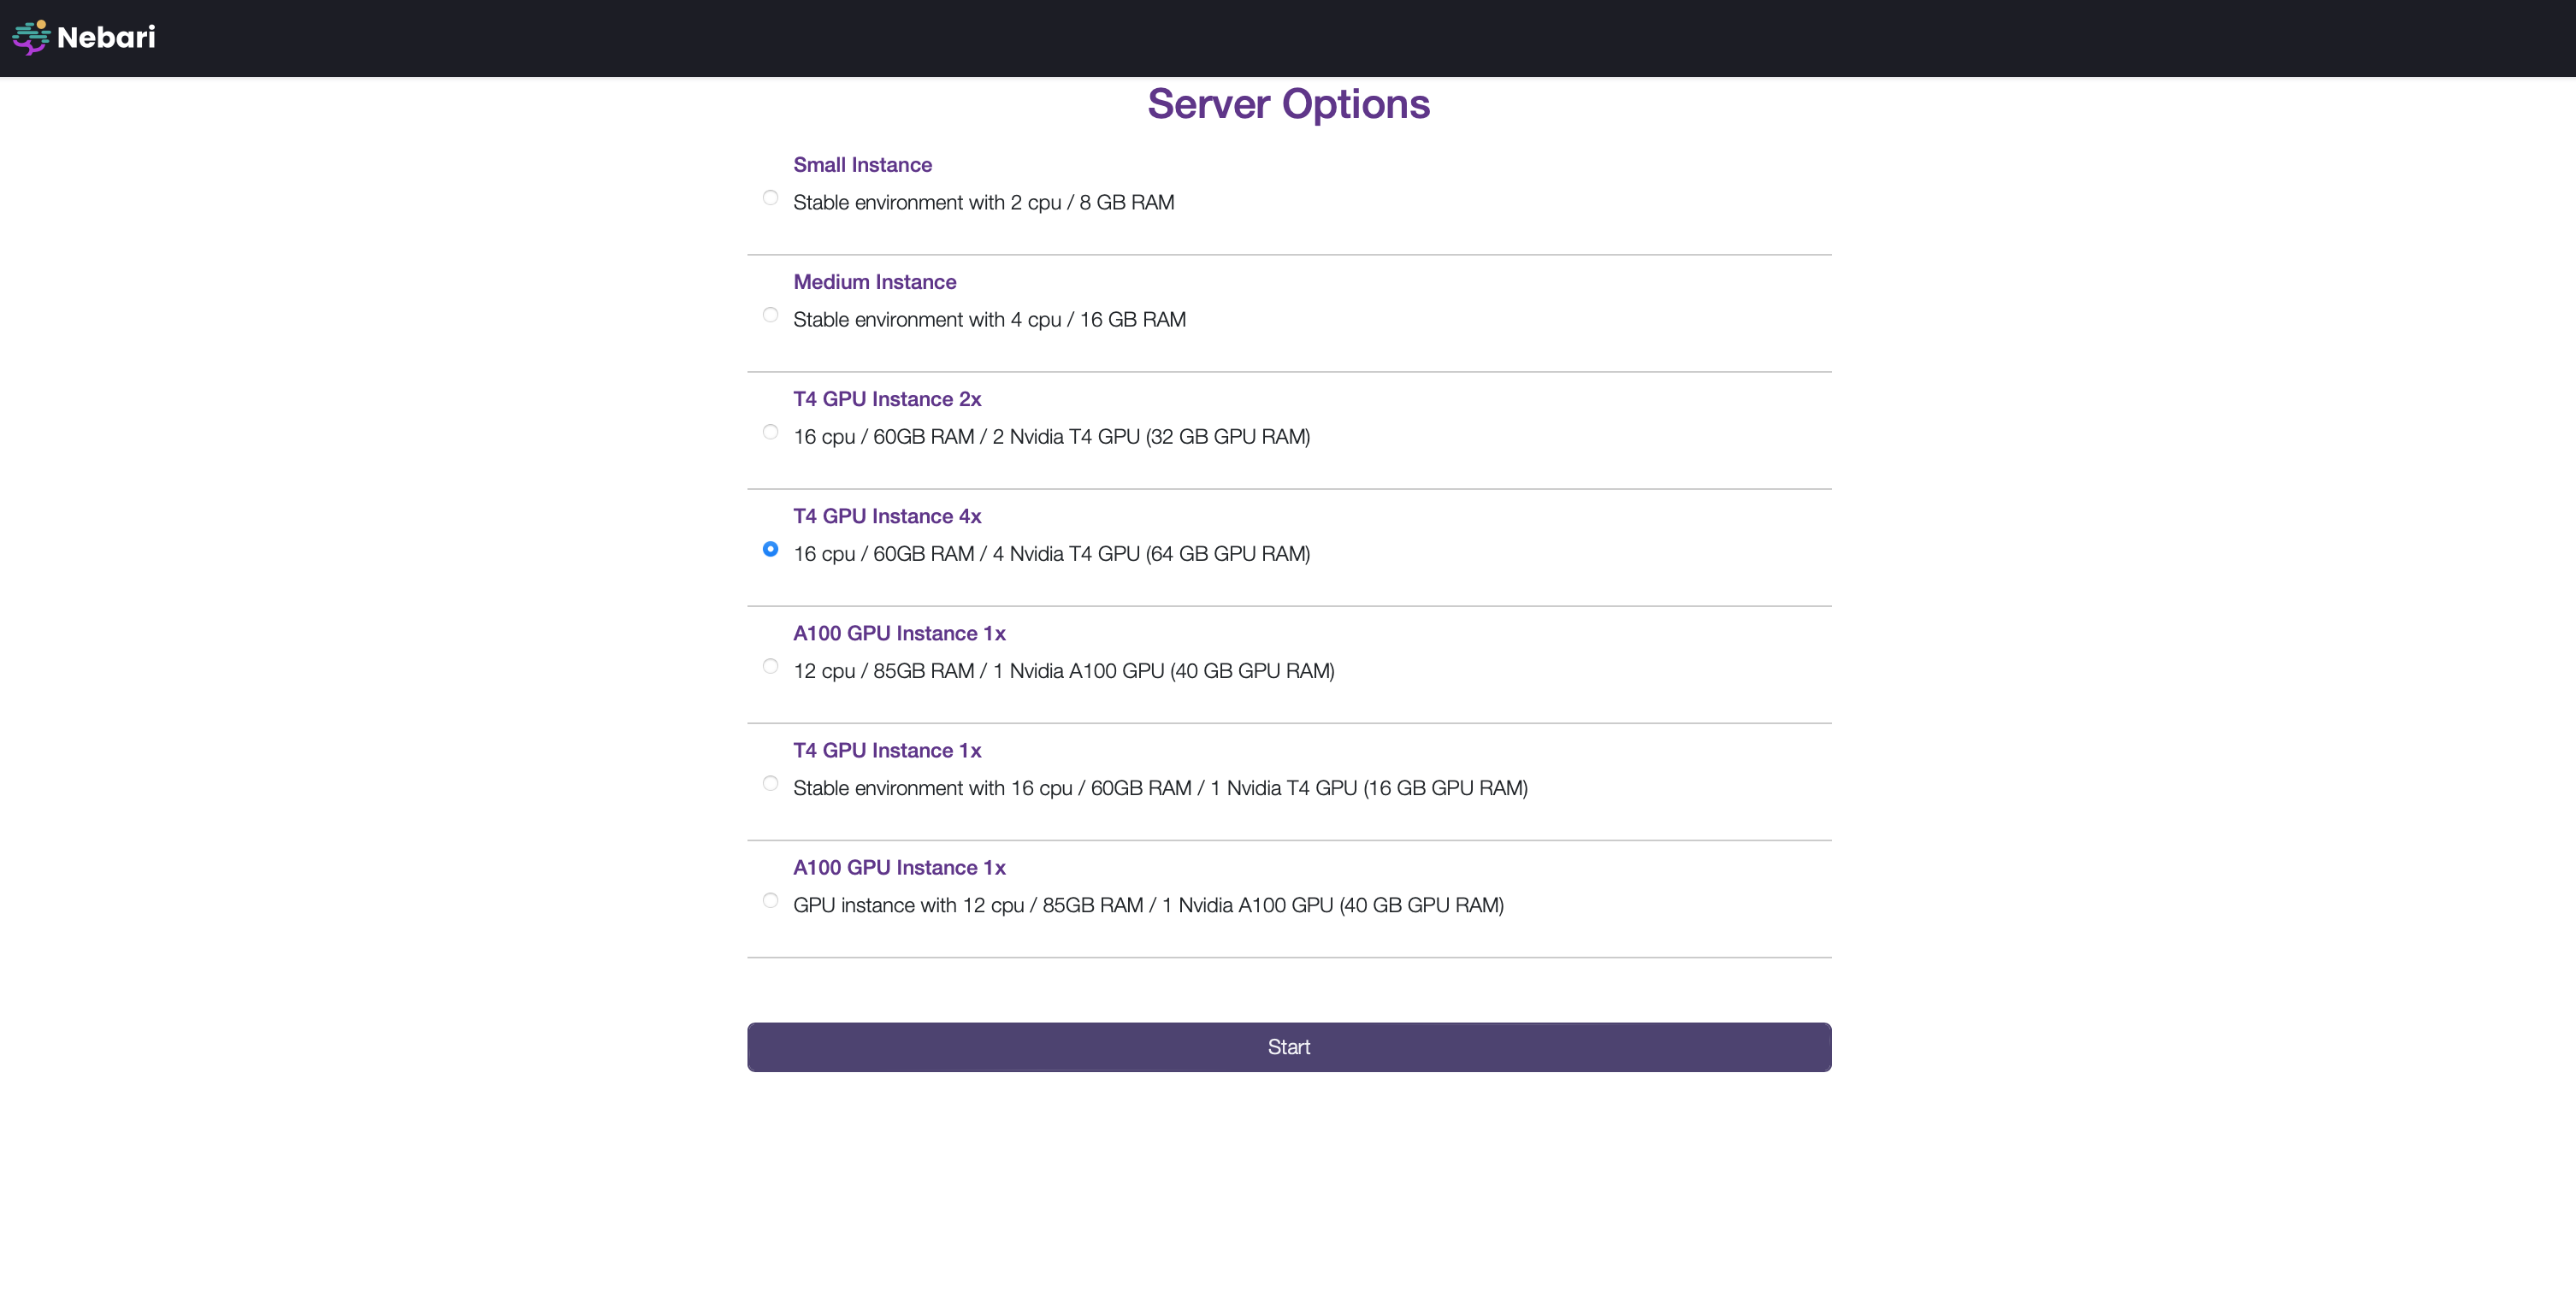
Select an appropriate profile and click "Start".
5. Start your server
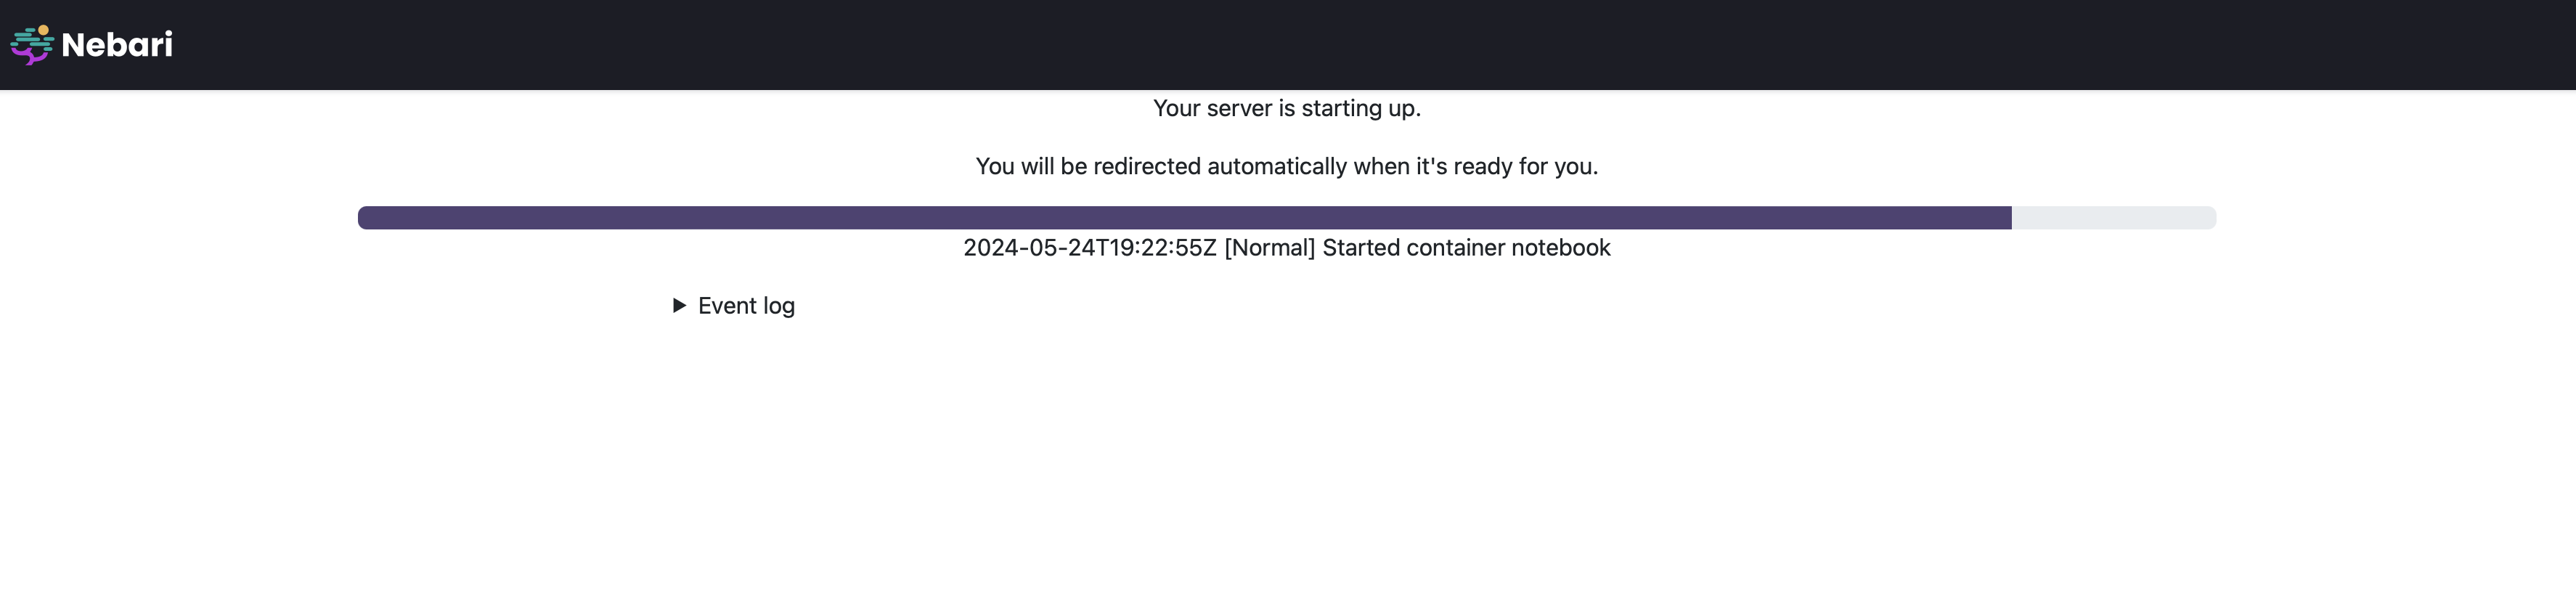
Section titled “5. Start your server”After clicking "Start", your JupyterLab instance starts to launch.
This step may take up to several minutes due to Nebari's use of autoscaling under the hood. Ultimately this autoscaling feature helps reduce costs when the cluster is idle.
A progress bar is shown while the server is being set up:
Optional: View Event log
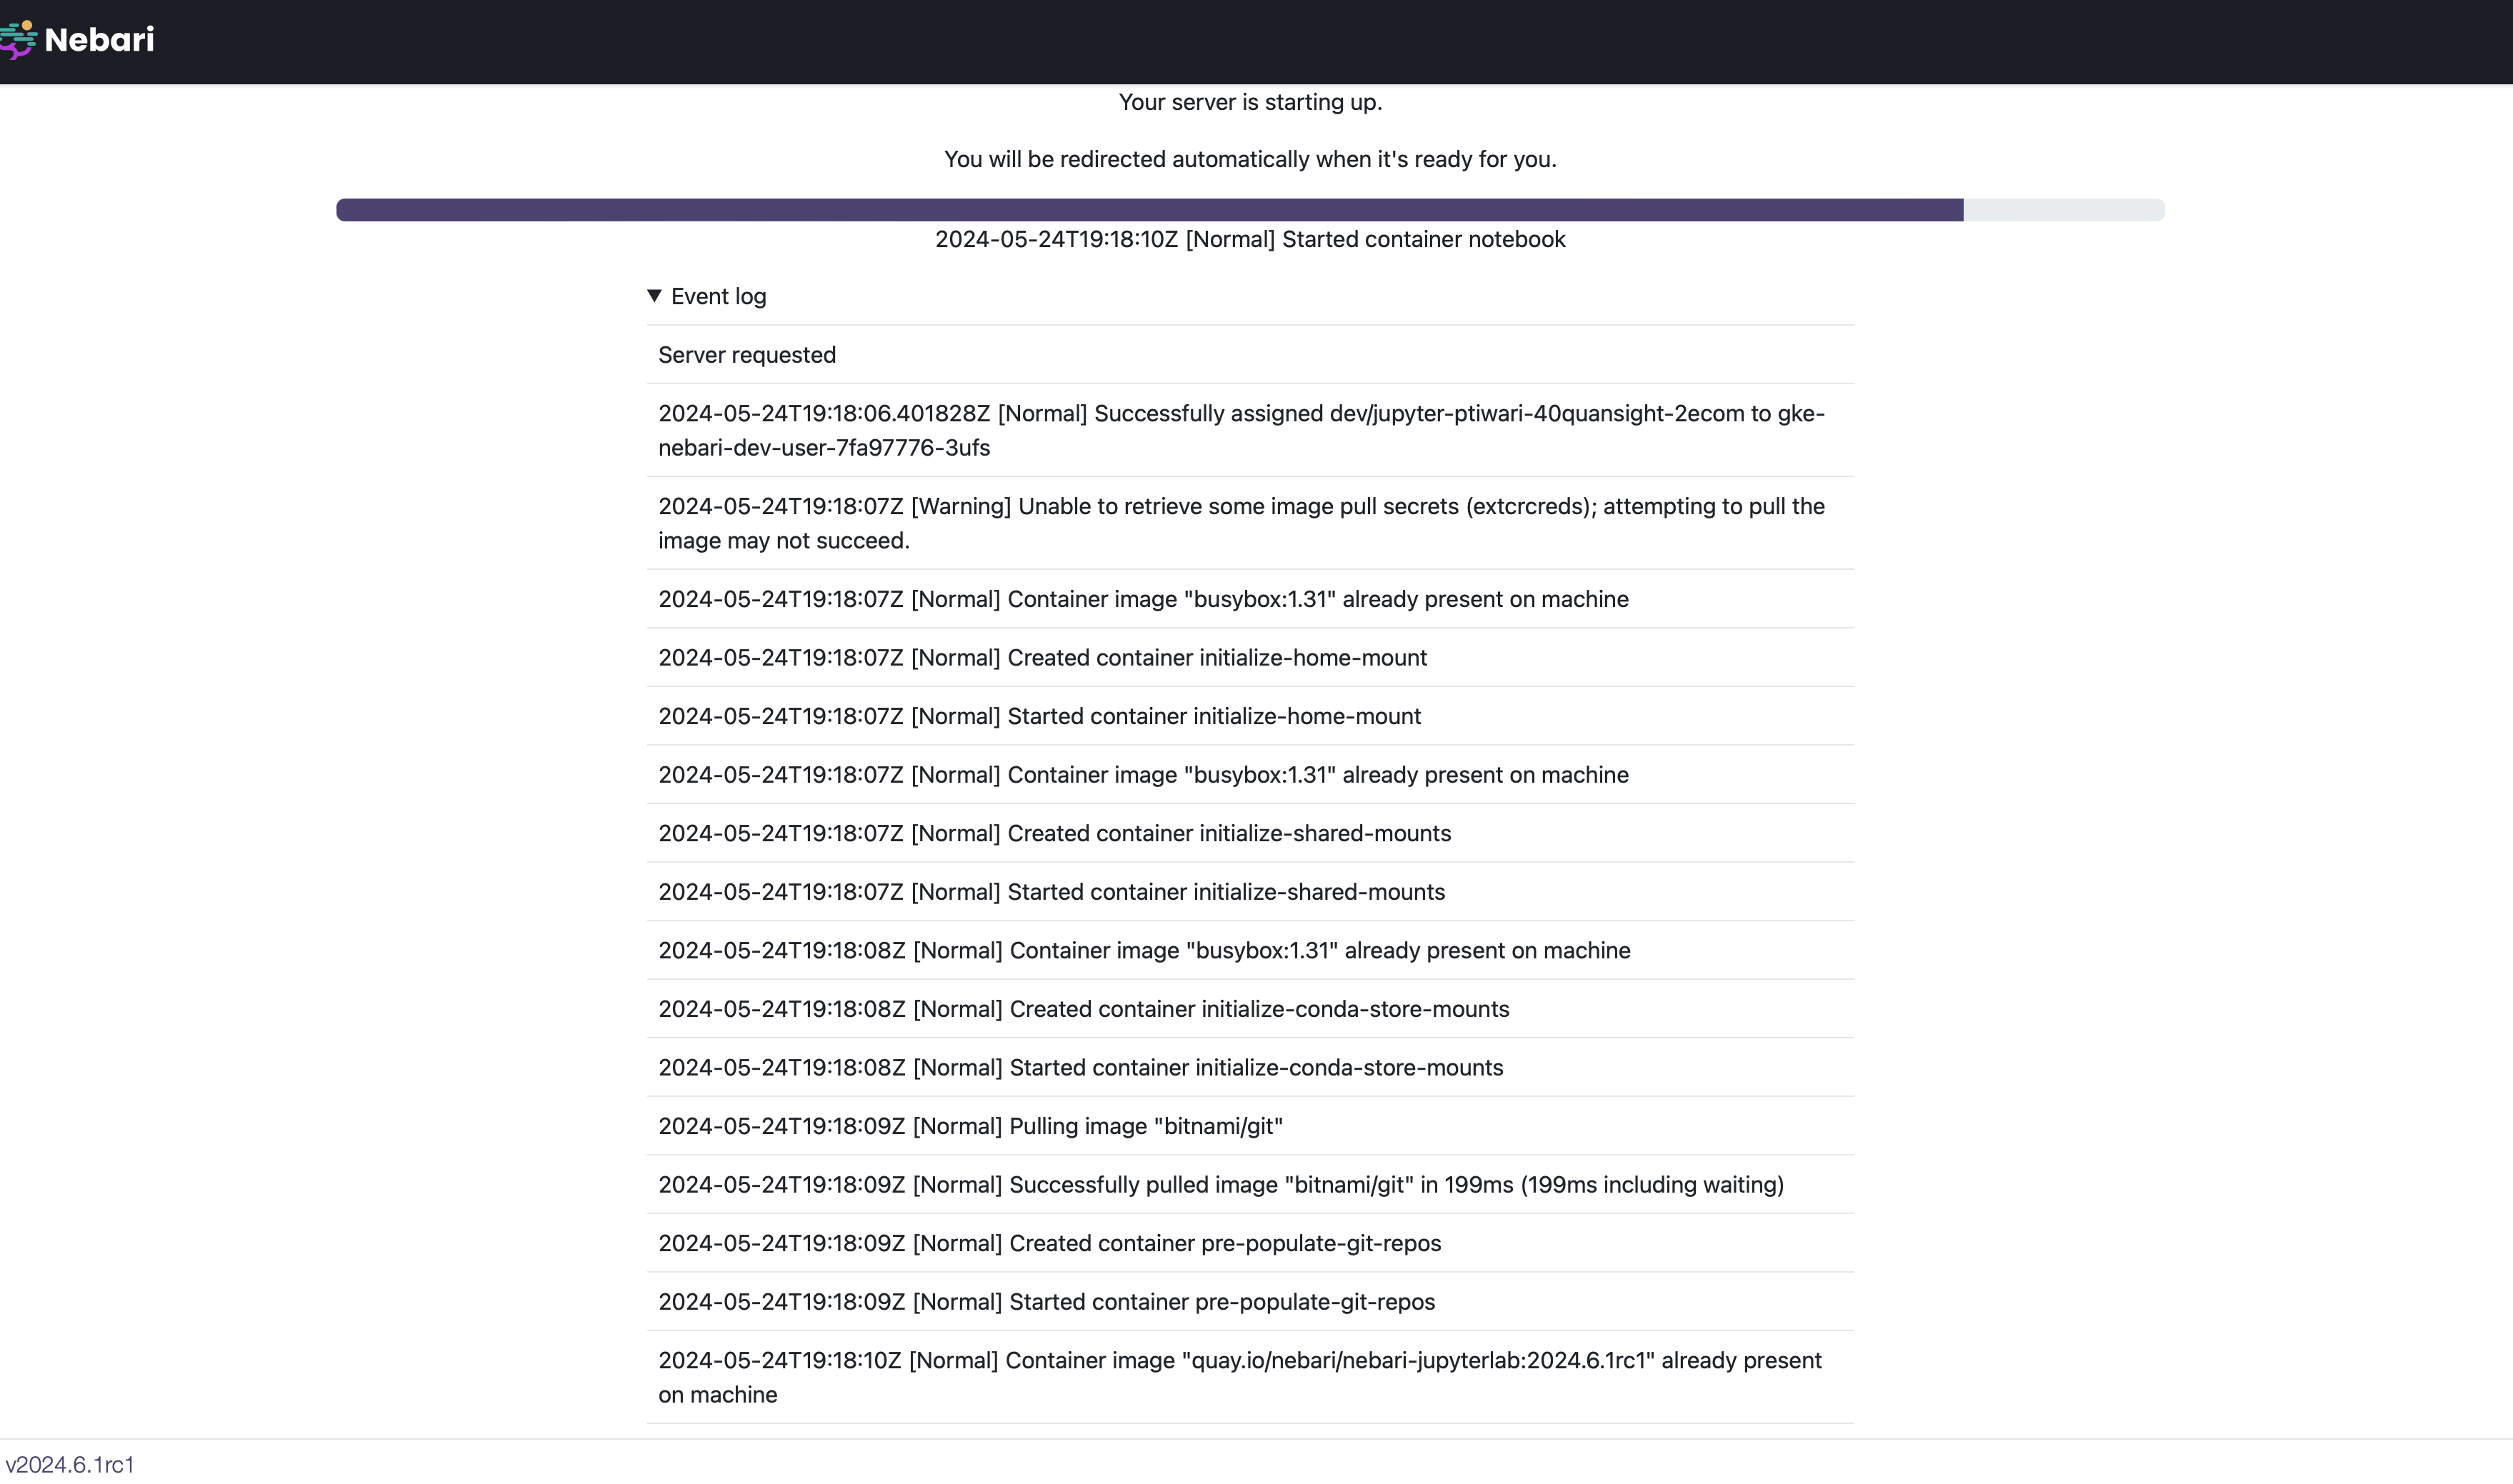
During this time you might see some log messages that detail the autoscaling process. Click the Event Log button to view them:
Once your server is ready, you will be redirected to JupyterLab!