

Quickstart
This is a quick Nebari CLI reference. If you're new to Nebari, start at Installing Nebari.
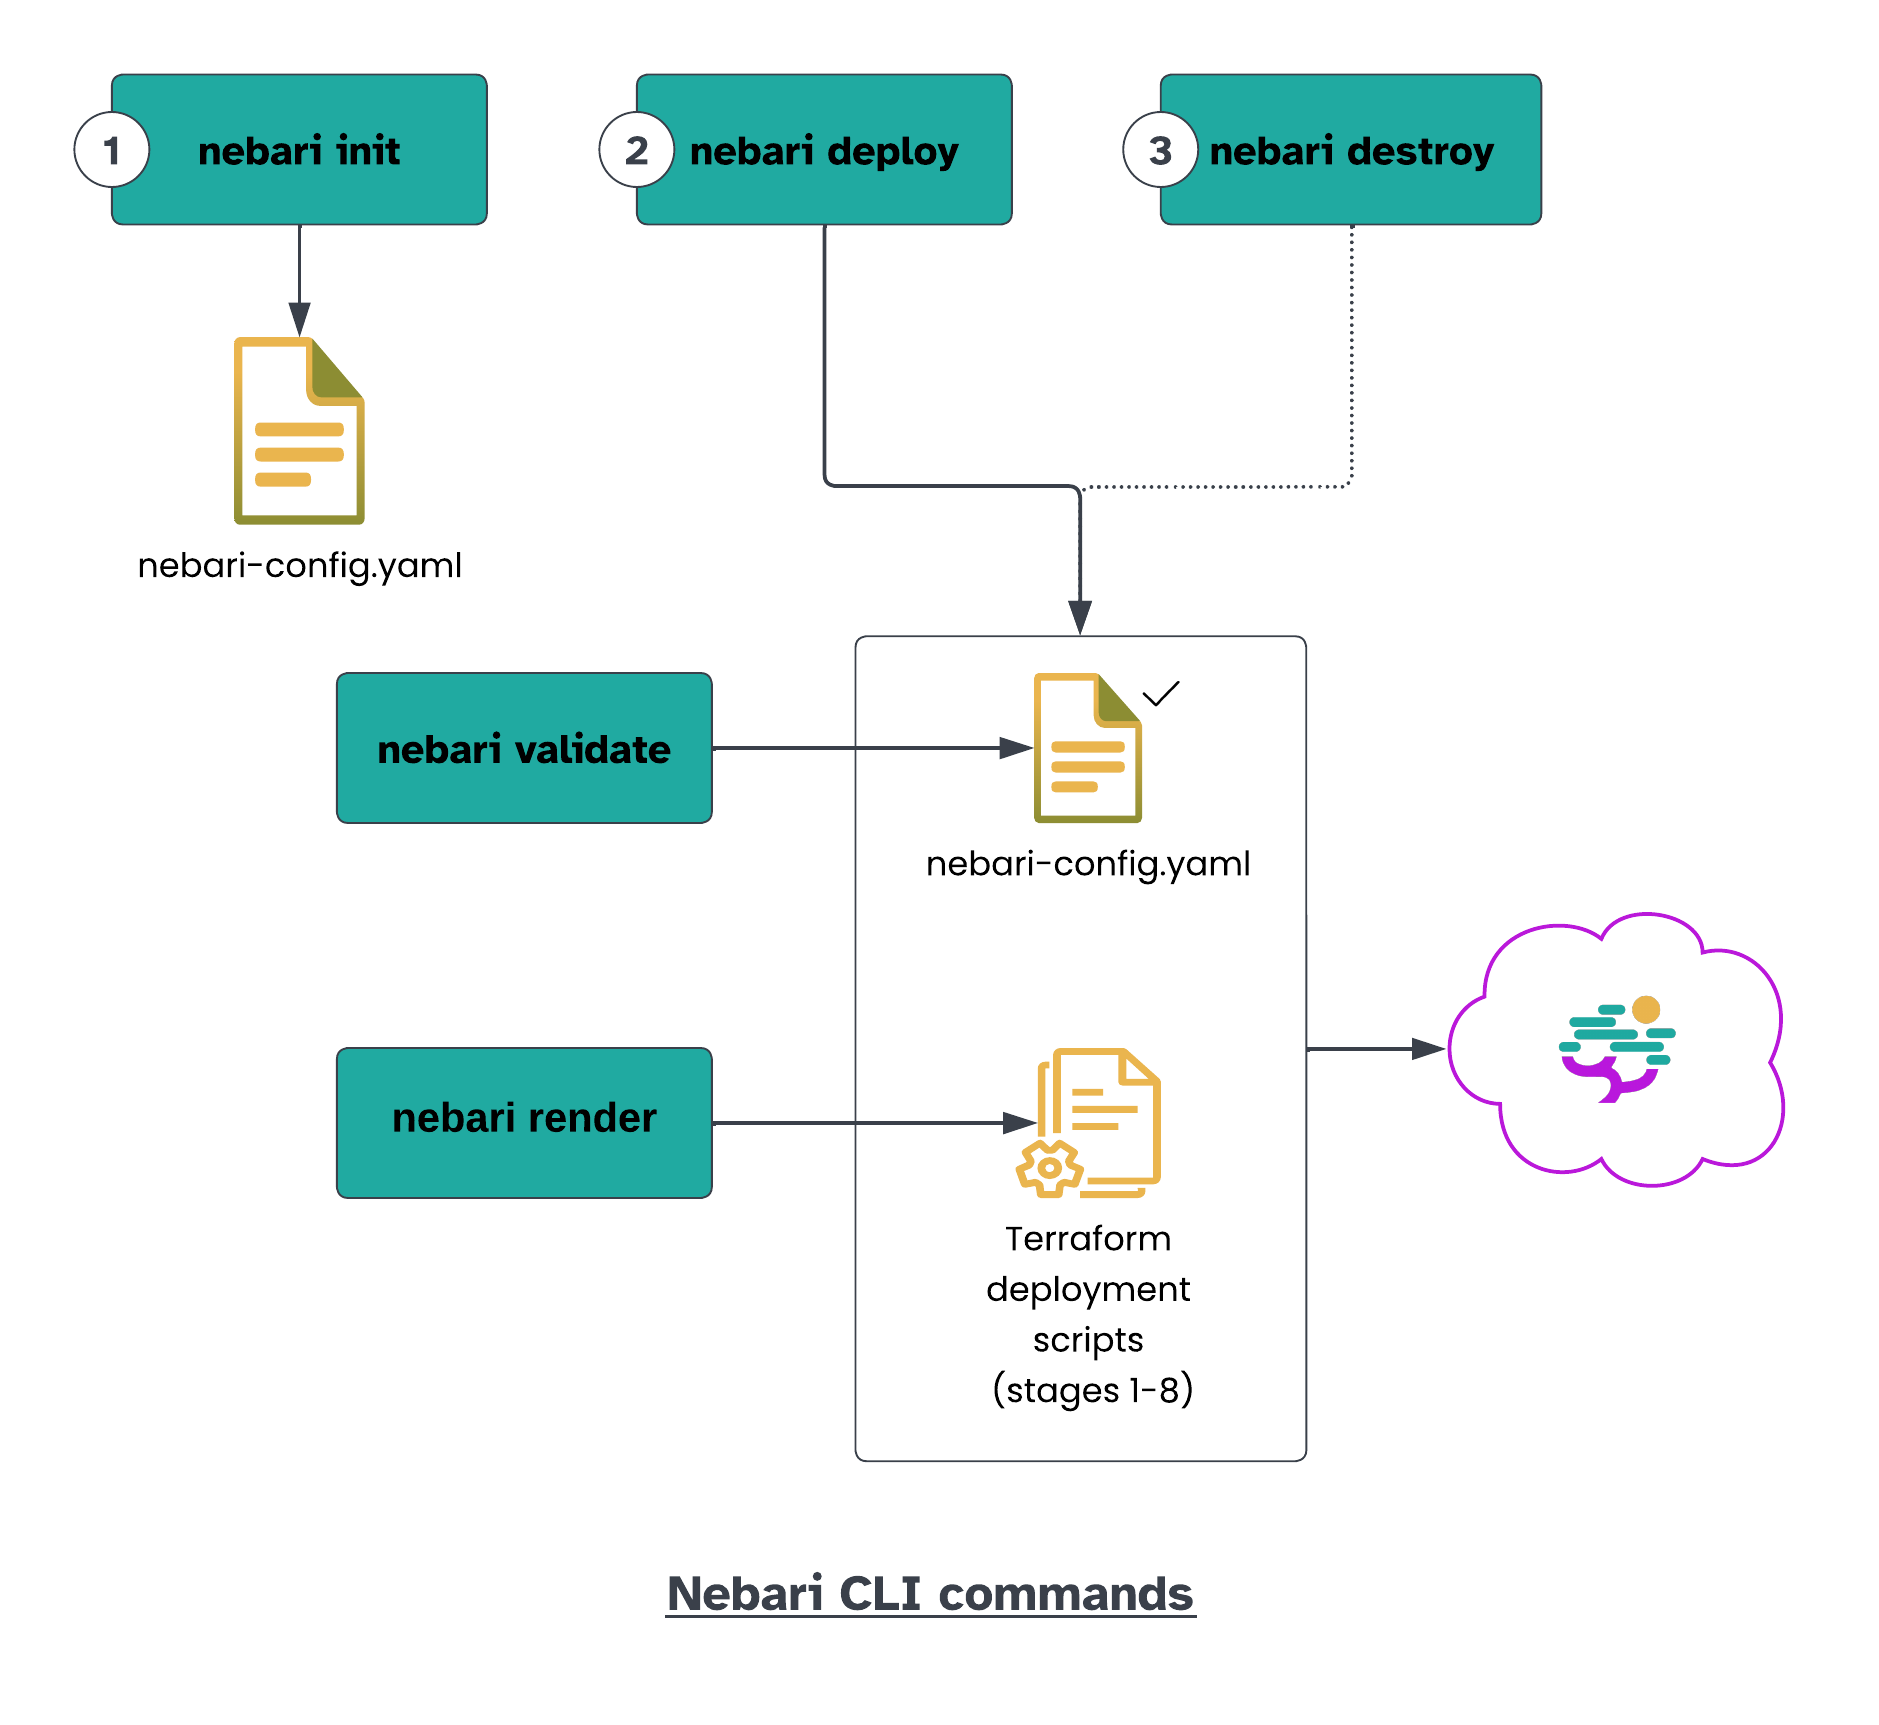
Initialize
Section titled “Initialize”Begin by creating a new project directory:
mkdir <project-name>cd <project-name>Create the nebari-config.yaml file using the guided init wizard:
nebari init --guided-initOr, if you know the initialization requirements and have set up the environment variables, you can directly run the nebari init command with the necessary flags.
Download the service account key file for your Nebari project, and set the following environment variables:
export GOOGLE_CREDENTIALS="path/to/JSON/file/with/credentials"export PROJECT_ID="Project ID"Create nebari-config.yaml with:
nebari init gcp --project projectname \ --domain domain \ --auth-provider passwordDownload the file with the Access Key ID and Secret Access Key provided by your IAM role, and set the following environment variables:
export AWS_ACCESS_KEY_ID="Access Key ID"export AWS_SECRET_ACCESS_KEY="Secret Access Key"Create nebari-config.yaml with:
nebari init aws --project projectname \ --domain domain \ --auth-provider passwordProvide authentication credentials to Nebari by setting the following environment variables:
export ARM_CLIENT_ID="" # application (client) IDexport ARM_CLIENT_SECRET="" # client's secretexport ARM_SUBSCRIPTION_ID="" # Available at the `Subscription` section under the `Overview` tabexport ARM_TENANT_ID="" # Available under `Azure Active Directories`>`Properties`>`Tenant ID`Create nebari-config.yaml with:
nebari init azure --project projectname \ --domain domain \ --auth-provider passwordValidate (optional)
Section titled “Validate (optional)”After creating the nebari-config.yaml file, you can customize it. The Nebari package uses Pydantic for schema validation. To ensure your customizations are valid, run:
nebari validate -c nebari-config.yamlRender (optional)
Section titled “Render (optional)”You can generate the (Terraform) deployment workflow scripts with:
nebari render -c nebari-config.yamlThis is the actual step that loads the stage classes/models and generates physical IaC files based on your Nebari config file and installed package versions. It is not necessary to manually run a render to deploy. However, it can be useful (especially if you use a GitOps workflow with GitHub Actions or GitLab CI/CD) to review the effects of config files changes on the resulting IaC before deploying.
Deploy
Section titled “Deploy”You can deploy your Nebari instance to the cloud (selected in the previous step) with:
nebari deploy -c nebari-config.yamlYou may need to set up necessary DNS records (with a DNS provider of your choice) for your chosen domain to proceed if you see:
Take IP Address 12.312.312.312 and update DNS to point to "your.domain" [Press Enter when Complete]If you use Cloudflare, you can set up automatic DNS provisioning.
Create a Cloudflare API token and set the following environment variable:
export CLOUDFLARE_TOKEN="cloudflaretokenvalue"Use the --dns-auto-provision flag with the Nebari deploy command:
nebari deploy -c nebari-config.yaml \ --dns-provider cloudflare \ --dns-auto-provisionIt can take up to 30 mins for the deploy command to execute.
Destroy
Section titled “Destroy”To delete all your Nebari resources, while preserving the nebari-config.yaml file, run:
nebari destroy -c nebari-config.yamlIt can take up to 30 mins for the destroy command to complete.
If you face any issues with the commands, check out the Troubleshooting guide.