Configure Keycloak
Introduction to Keycloak
Keycloak is the open-source identity and access management tool that comes standard with Nebari. It is used as a centralized location to add new users, create user groups and update roles and permissions. Keycloak can be configured to work with your existing identity provider services such as GitHub, Auth0 and many others.
Although Nebari allows you to connect with GitHub and Auth0 from the nebari-config.yaml, any identity provider that Keycloak can connect to will work. See these Keycloak docs for more information.
In Keycloak, as with many admin tools, you start with an initial login user (root) that has the ability to administer and create new users. The root user is a Keycloak-specific user. It can only be used to log in and manage the Keycloak identity management section of Nebari.
Trying to log in to JupyterHub using this root user will fail. Currently, this is the only user with access to the Keycloak administration console, therefore anyone wanting to add users, new groups, etc., will need to use this user and login here: https://{your-nebari-domain}/auth/admin/.
Change Keycloak root password
Once you change the root password you will not be able to add users from the command line
root's password is generated by the nebari init command. If you ran this command while following the steps under Installing Nebari, you should have seen something like the following in your terminal output:
Securely generated default random password=<alphanumeric-string> for Keycloak root user
The init command also saves the root user password to your nebari-config.yaml configuration file under the following path:
security.keycloak.initial_root_password
After the initial deployment, it is highly recommended that you change the Keycloak root user password as soon as possible.
-
To change the
rootuser password, go to your Nebari instance's admin dashboard - e.g., something likehttps://{your-nebari-domain}/auth/admin/and log in with the root password provided.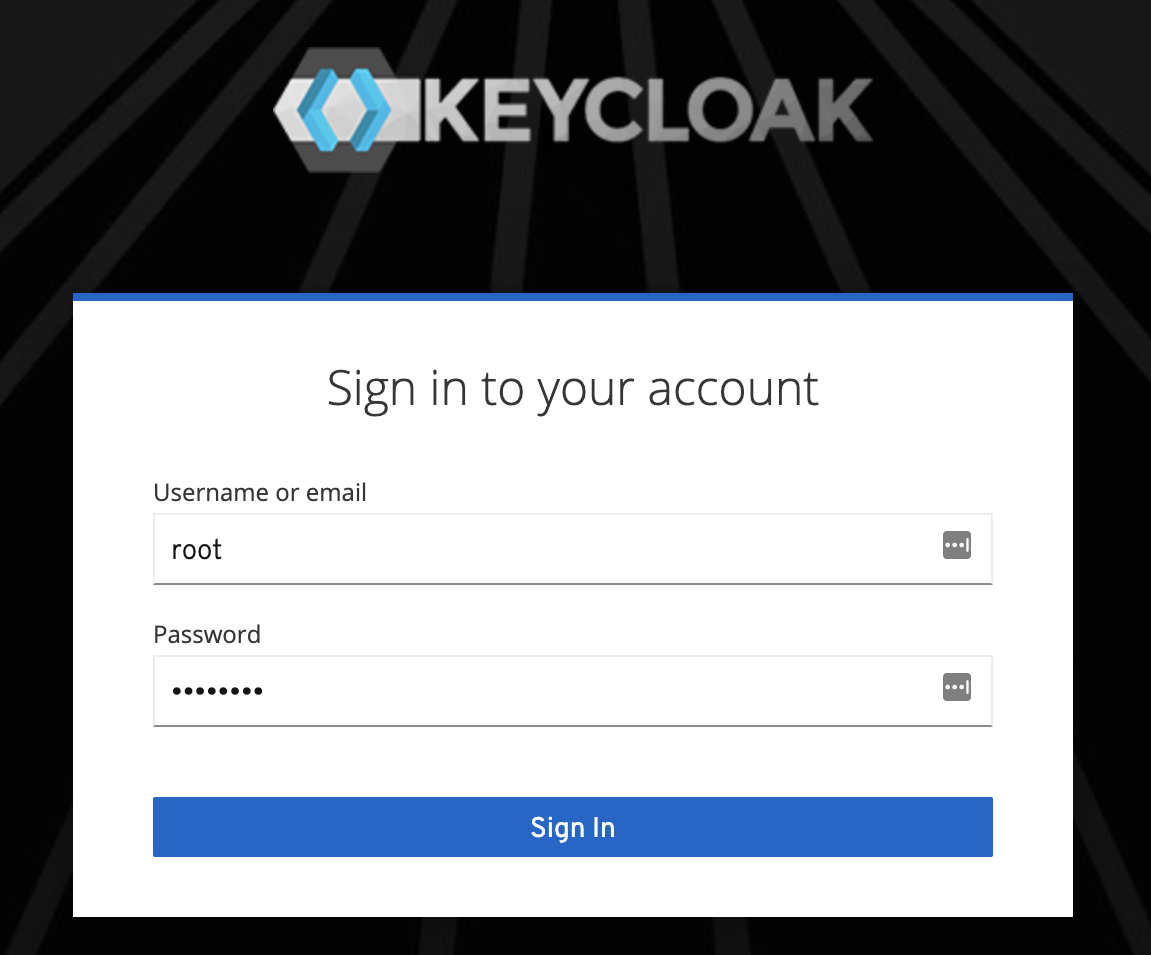
-
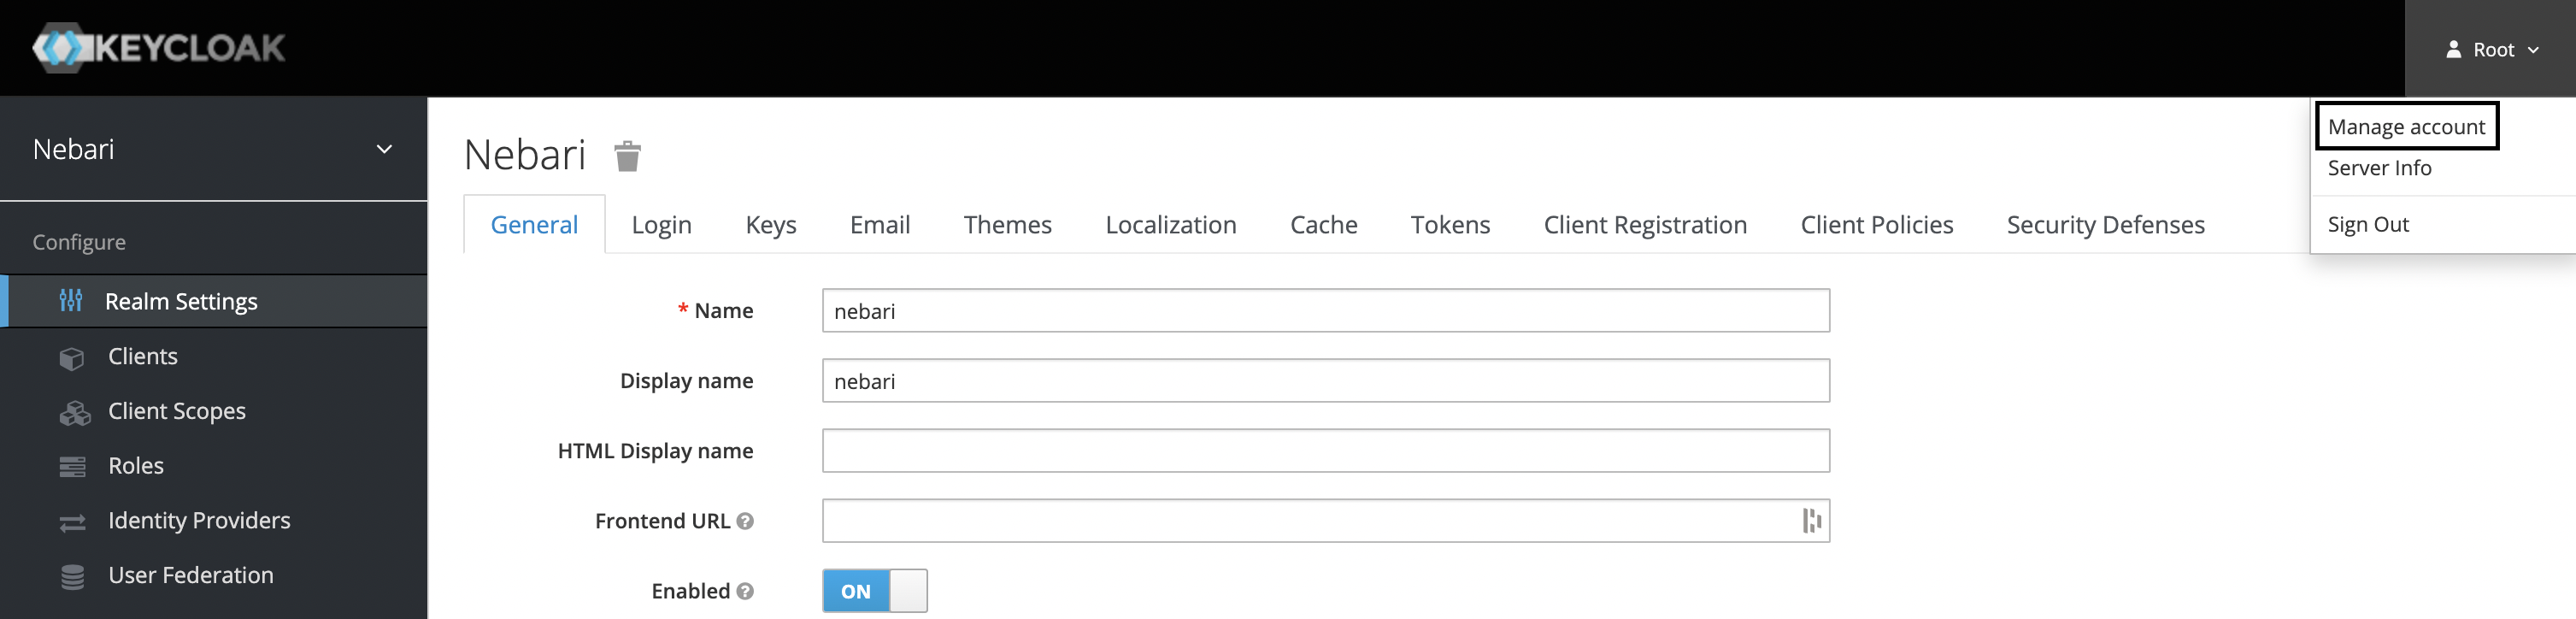
From there, click on the Root dropdown in the top right of the screen, and select Manage account.
-
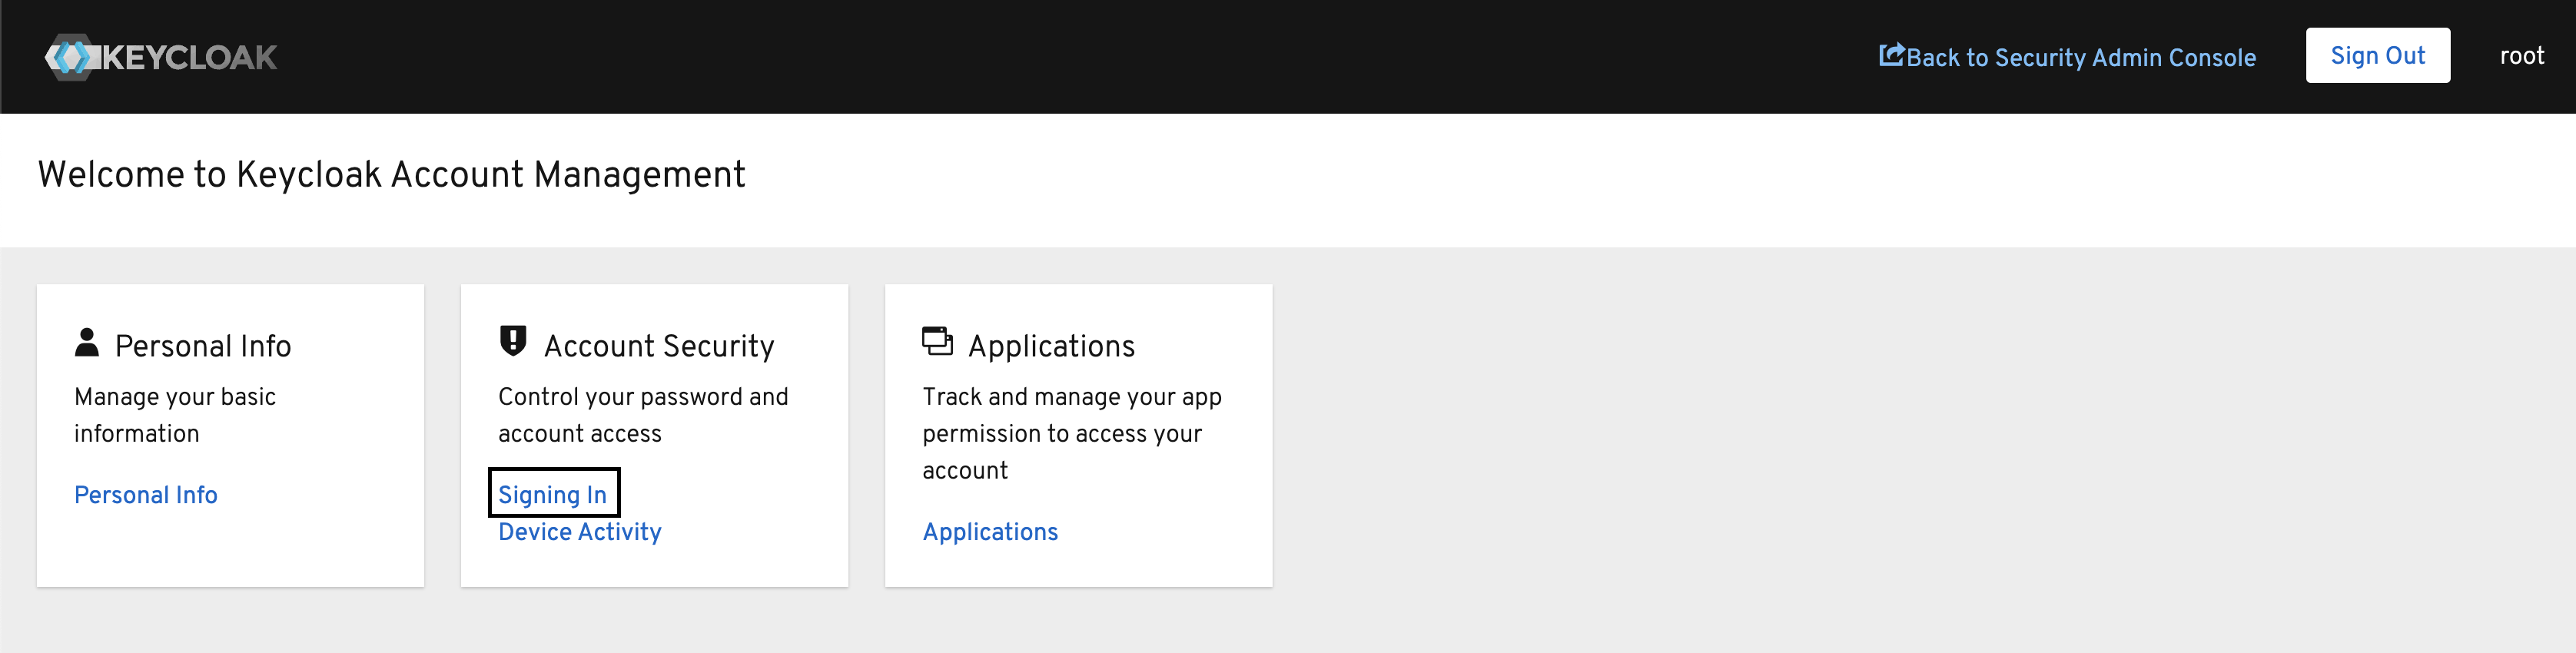
Under Account Security click Signing In.
-
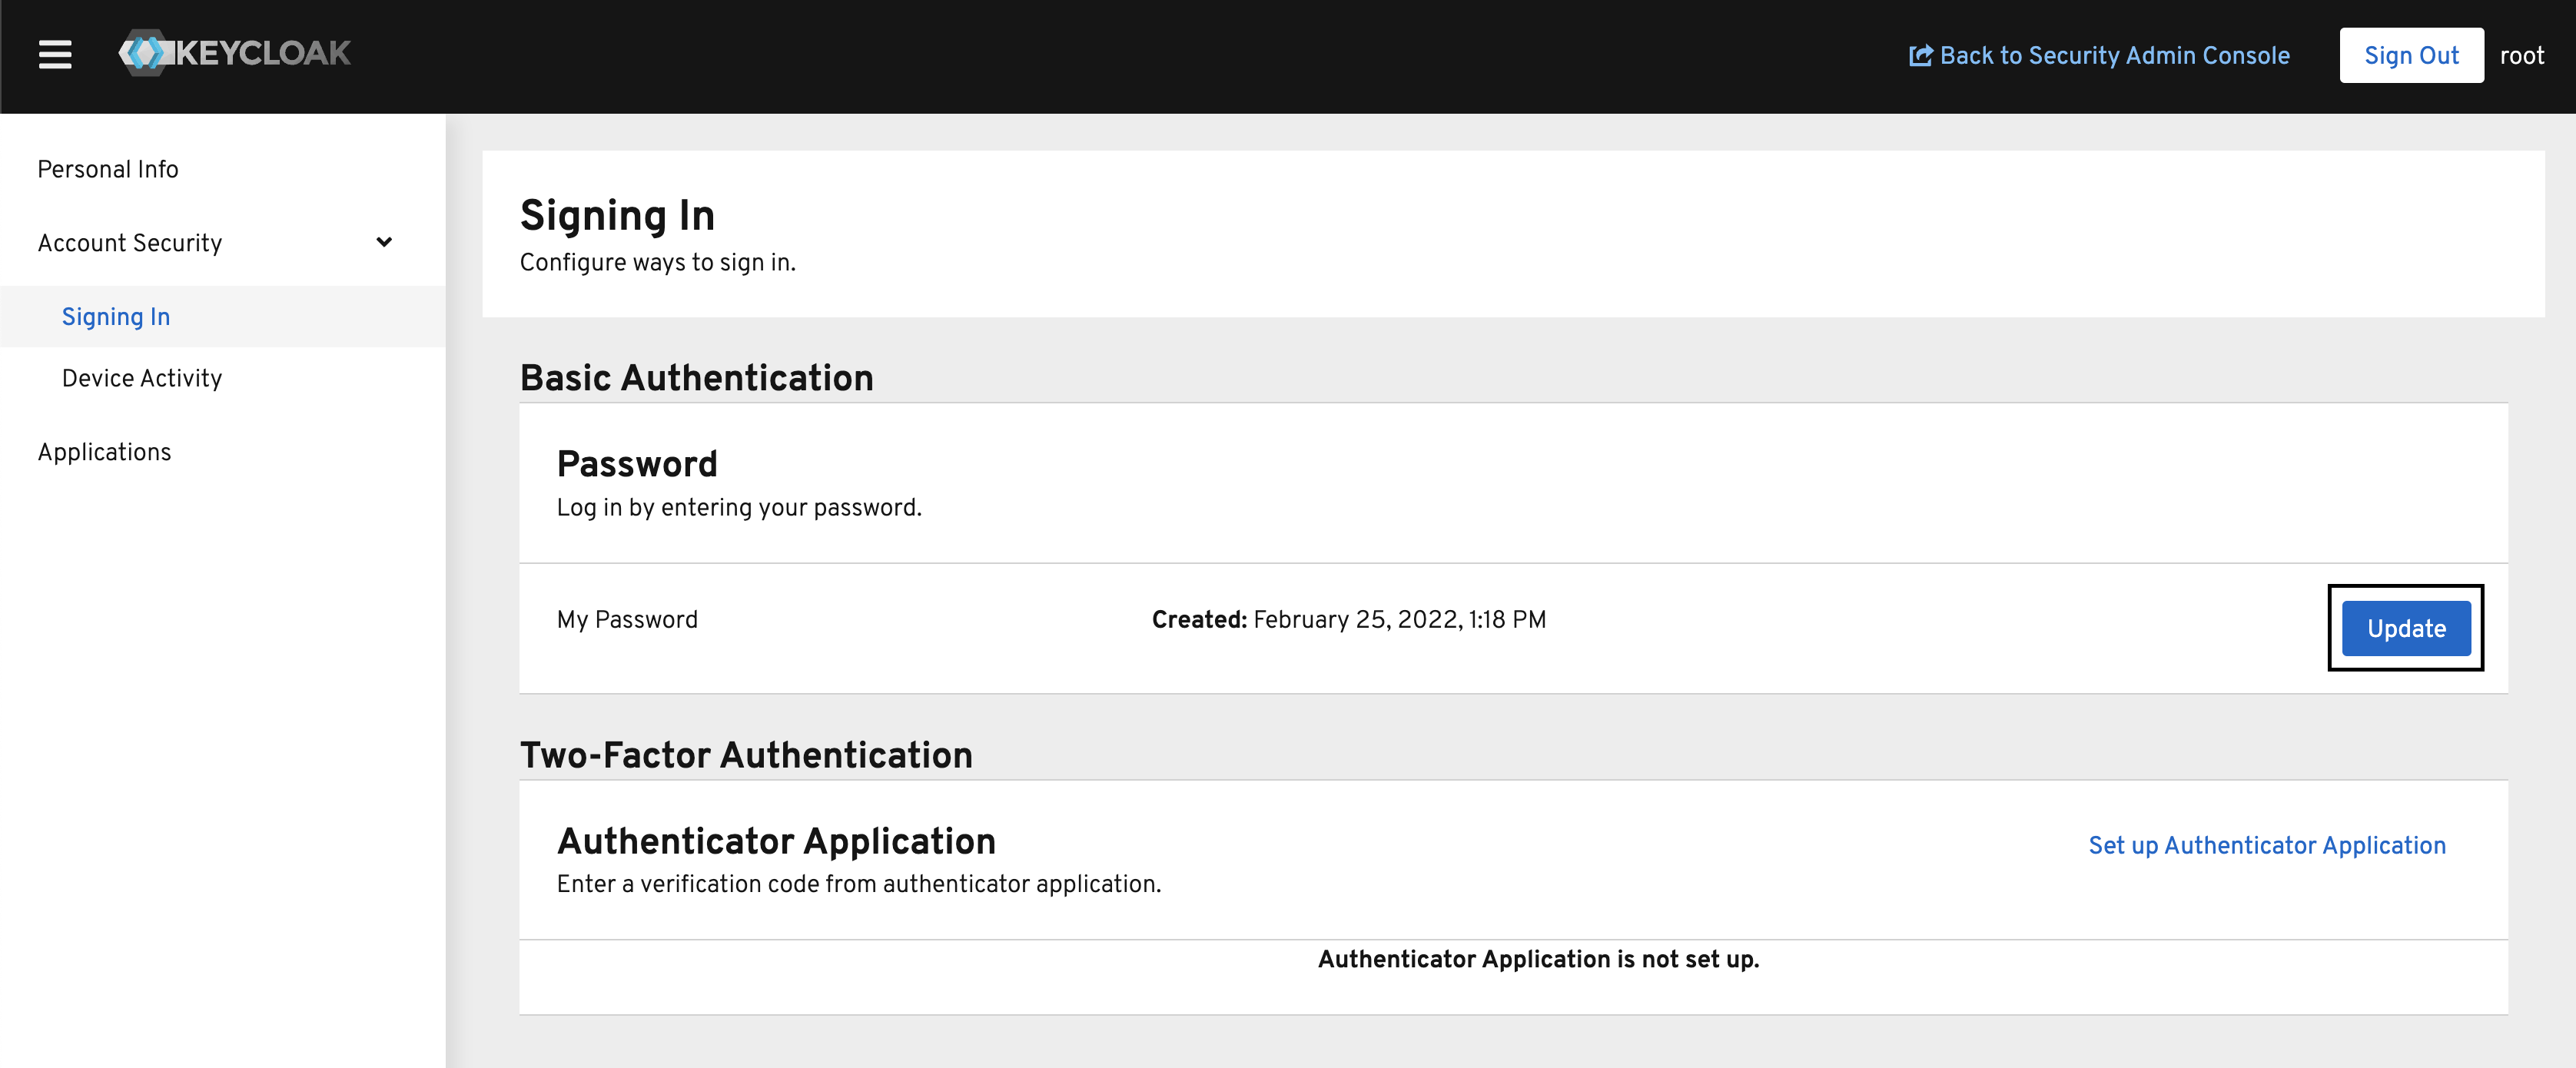
In the Password section, click the Update button. This will guide you through entering your existing root password, and then creating a new password.
The security.keycloak.initial_root_password field in nebari-config.yaml has no effect after changing the root password. If you redeploy Nebari it will not reset the password back to the old one (or anything else that might be in the field in your YAML file). We strongly recommend you delete this field to prevent later confusion.
Adding a Nebari user
No Nebari user is created for you during deployment, you will need to add a Nebari user manually in order to log in to JupyterHub and access the other Nebari services.
If you have chosen to use GitHub, Auth0 or any other single-sign-on, you must ensure the value you enter in Keycloak under Username exactly matches the username from GitHub or Auth0, respectively.
Add user using Keycloak admin console
To add a Nebari user from the Keycloak admin console, visit https://{your-nebari-domain}/auth/admin/ and login using the username root, as shown above.
Keycloak uses realms to separate their permission scopes under the Keycloak admin console. The realm for Nebari is nebari and all Nebari users will be part of the nebari realm, on the other hand, the realm for the Keycloak admin console is master.
The root user alone is a member of the master realm. For security best practices, we recommend that you minimize the number of users in the master realm. See the Master realm Keycloak documentation for more information.
The nebari realm is selected by default, we strongly recommend leaving it as is.
Steps to create a new user:
-
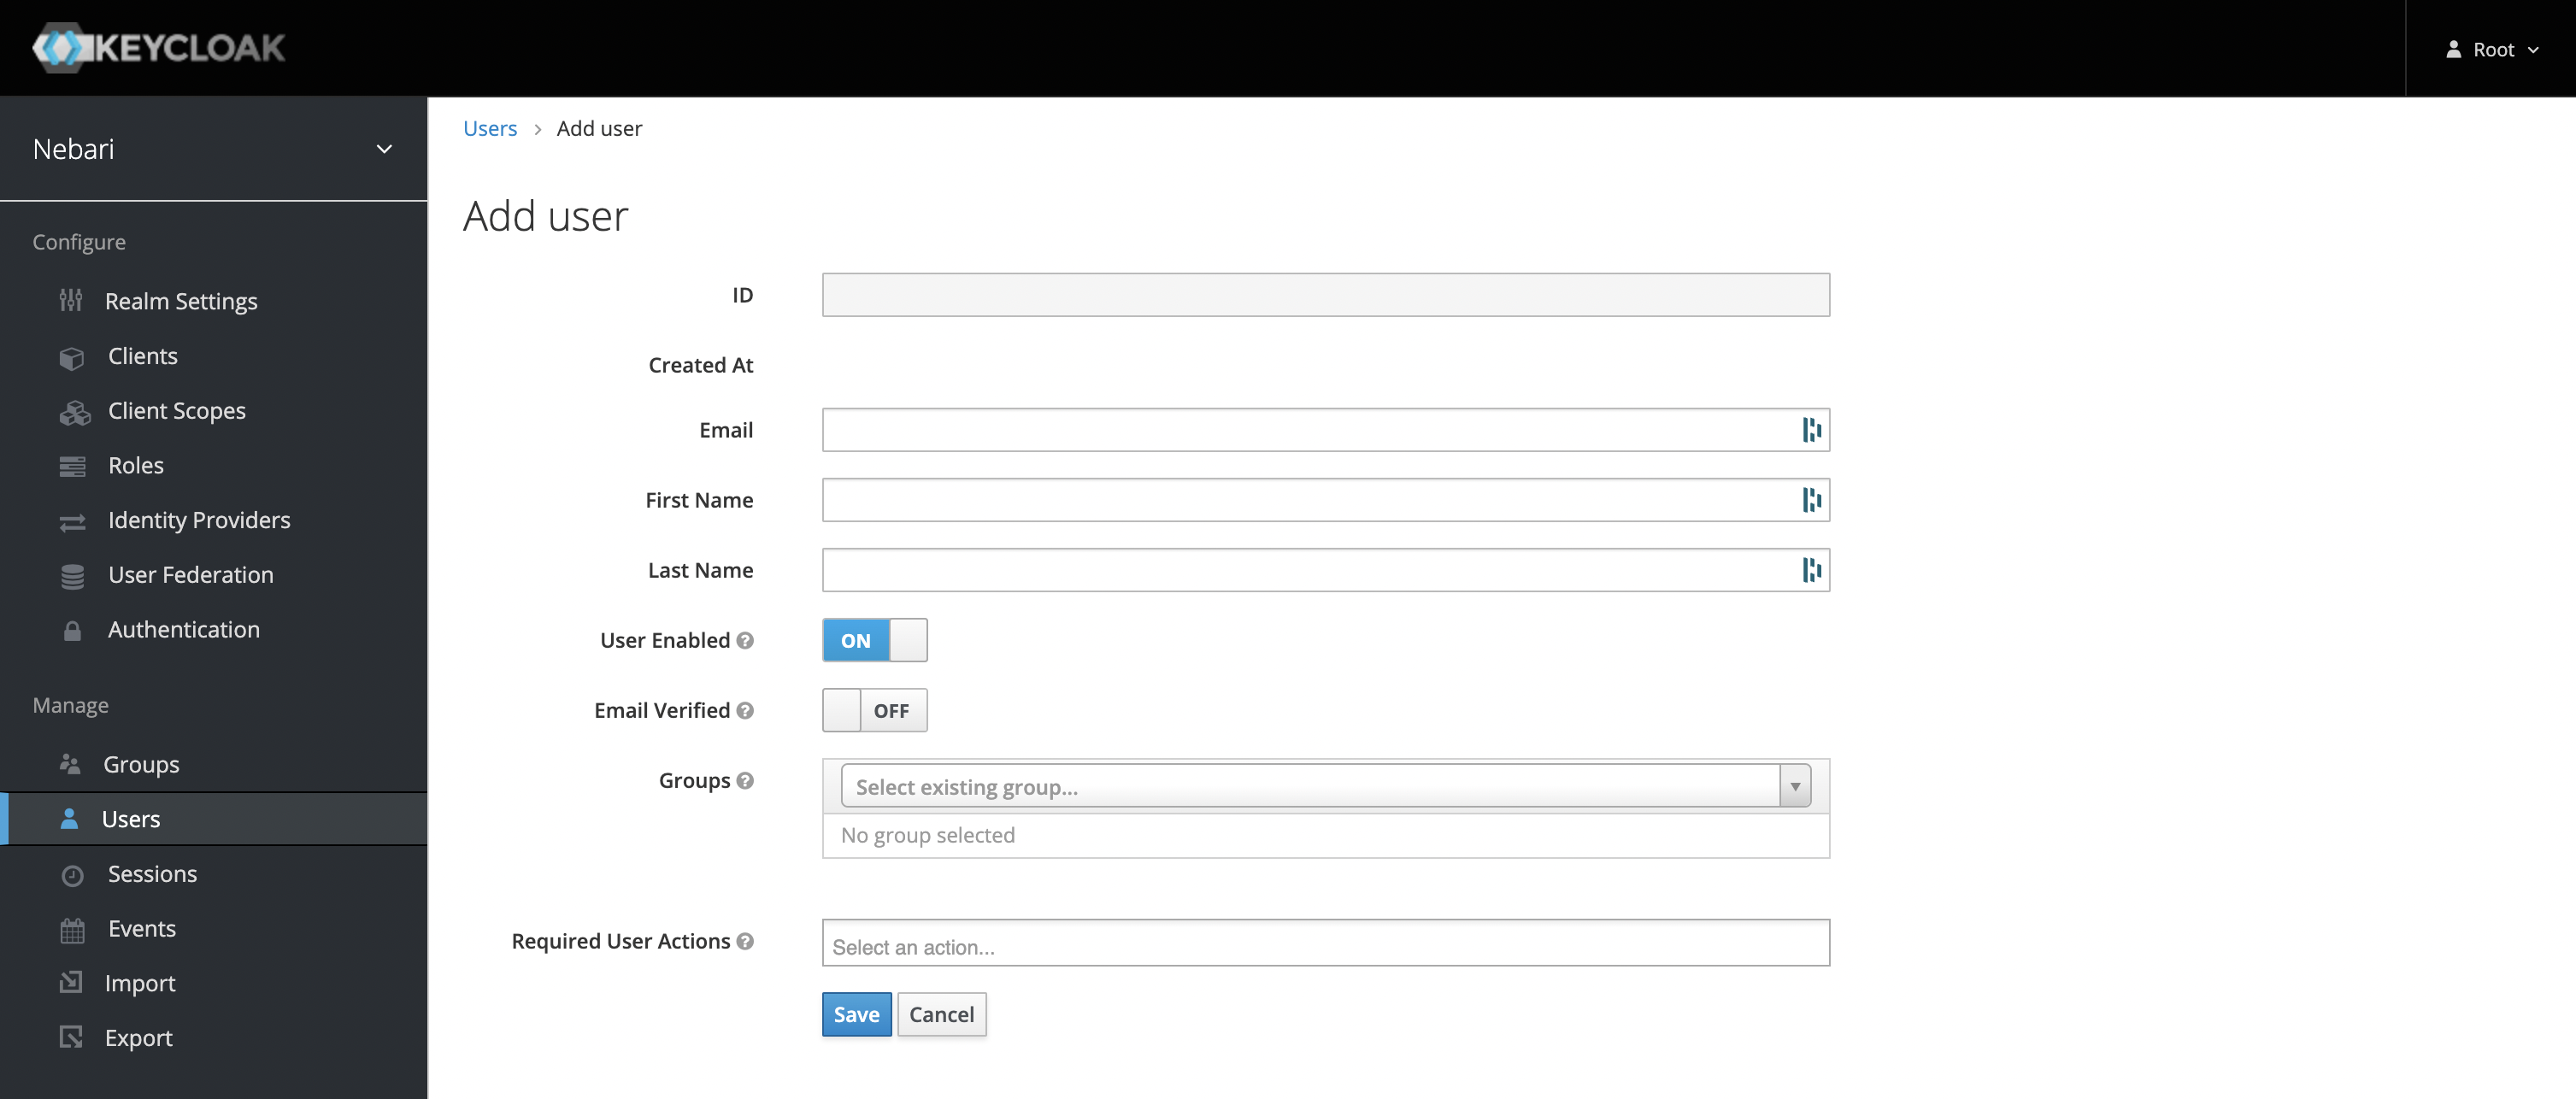
Click Users along the left-hand side of the page.
-
Click the Add user button, and you will see the new user form:
-
Fill out the three fields outlined above. These are Username, Email, and Groups. (See explanation below). Then click save.
-
Username: Depending on the authentication provider selected ('password', 'GitHub' or 'Auth0'), the values entered into the Username field will differ slightly. The following table outlines those differences:
Password GitHub Auth0 Username unique username GitHub username Email to login with -
Once the Username field is updated, add a valid email address in the Email field.
-
Although not required, users may not be able to log in to Grafana if this field isn't properly set.
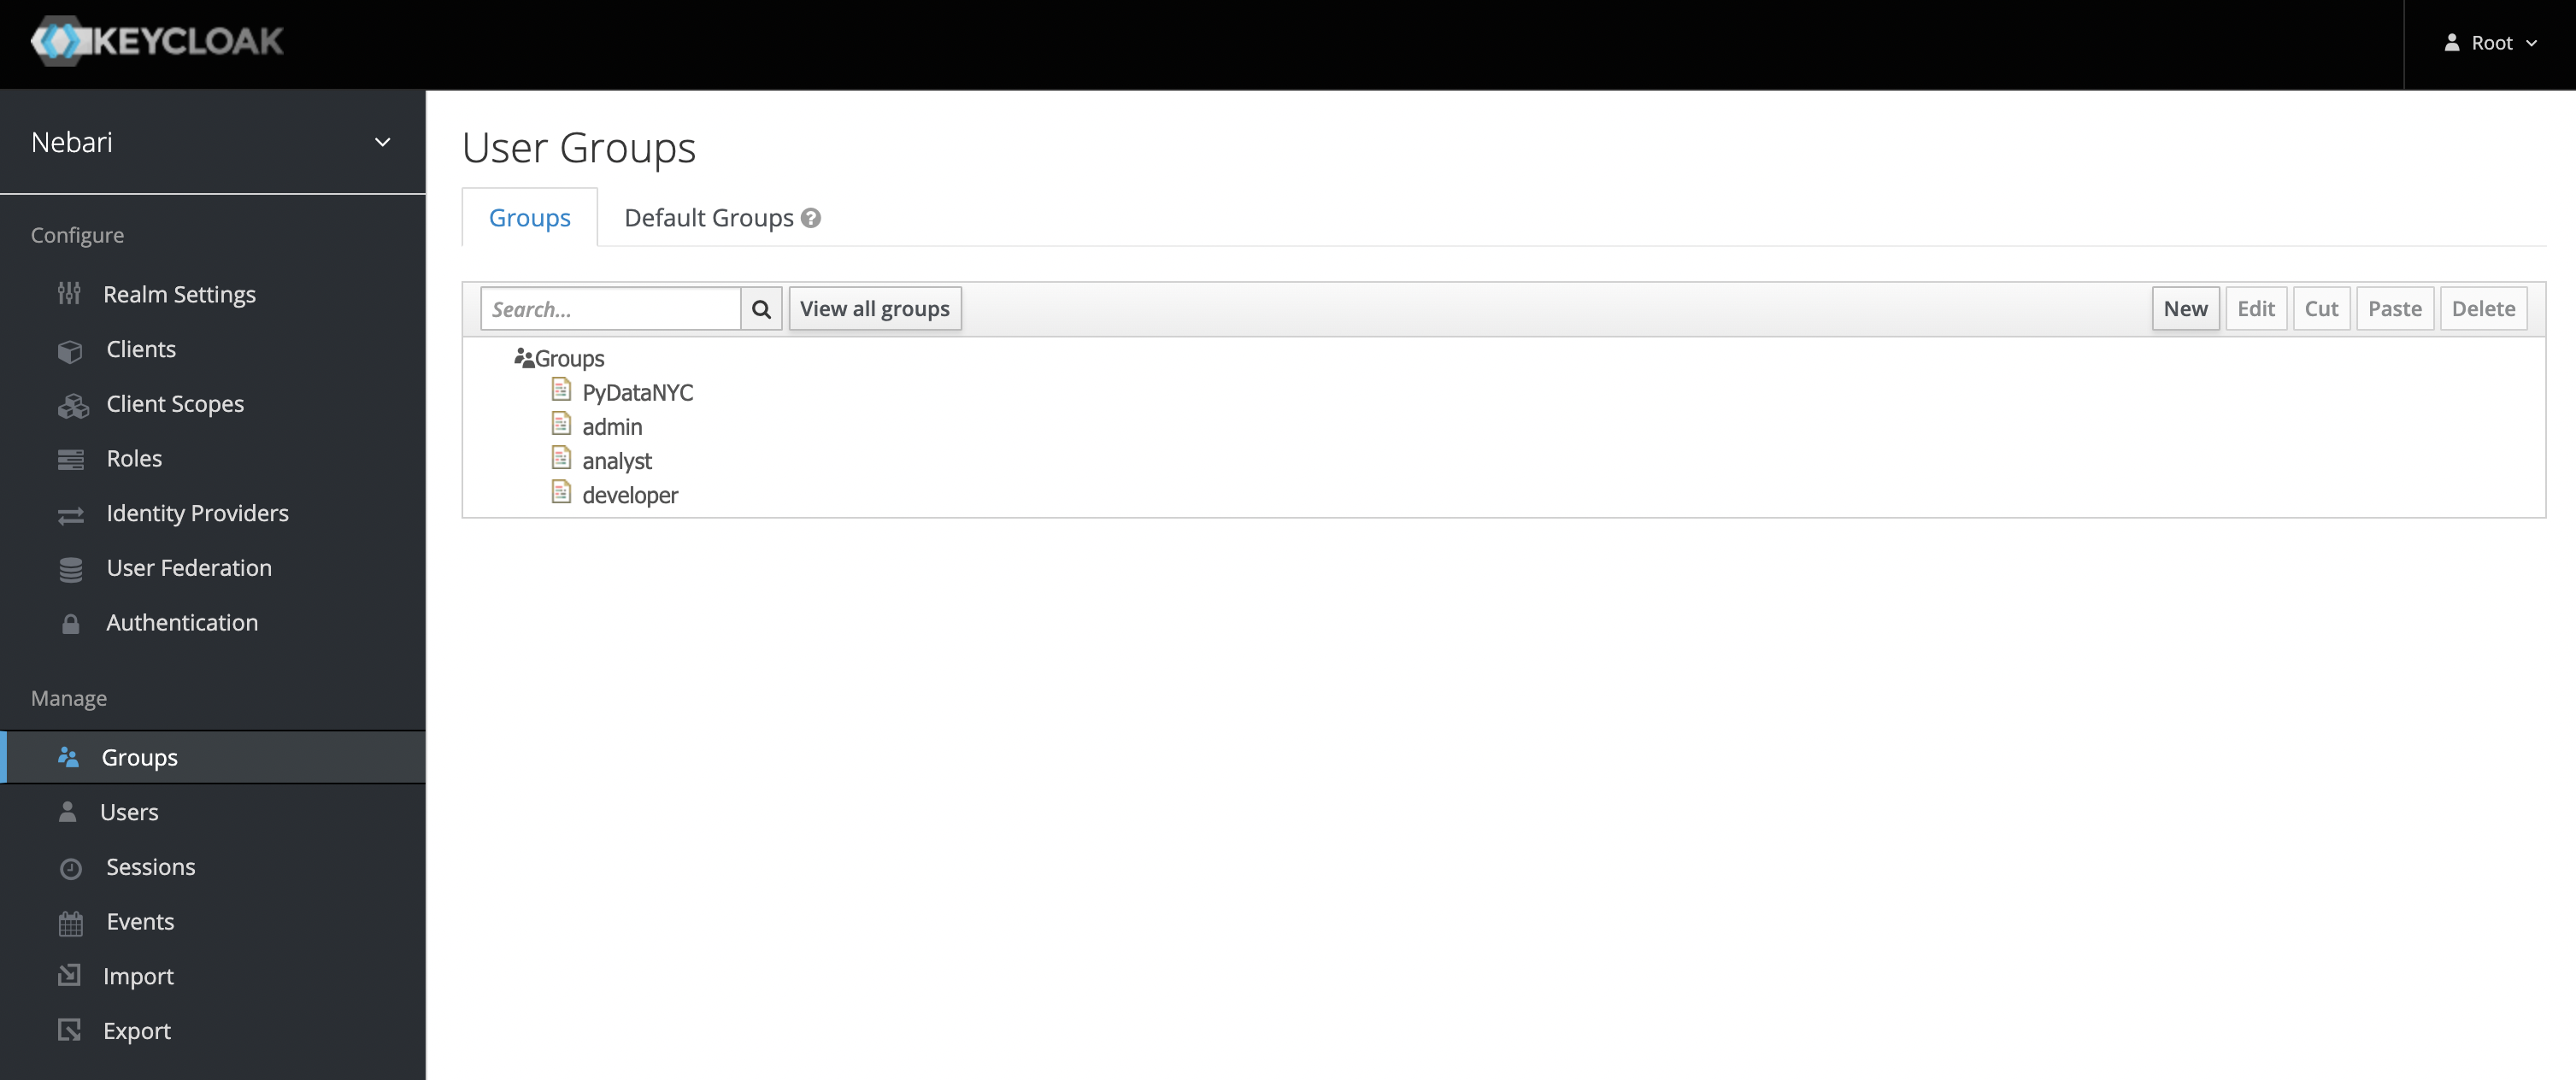
- Associate the user with one or more of the Groups. Out of the box, Nebari is deployed with the following groups:
admin,developerandanalyst(see the Roles x Groups section below for more details).
- Click Save.
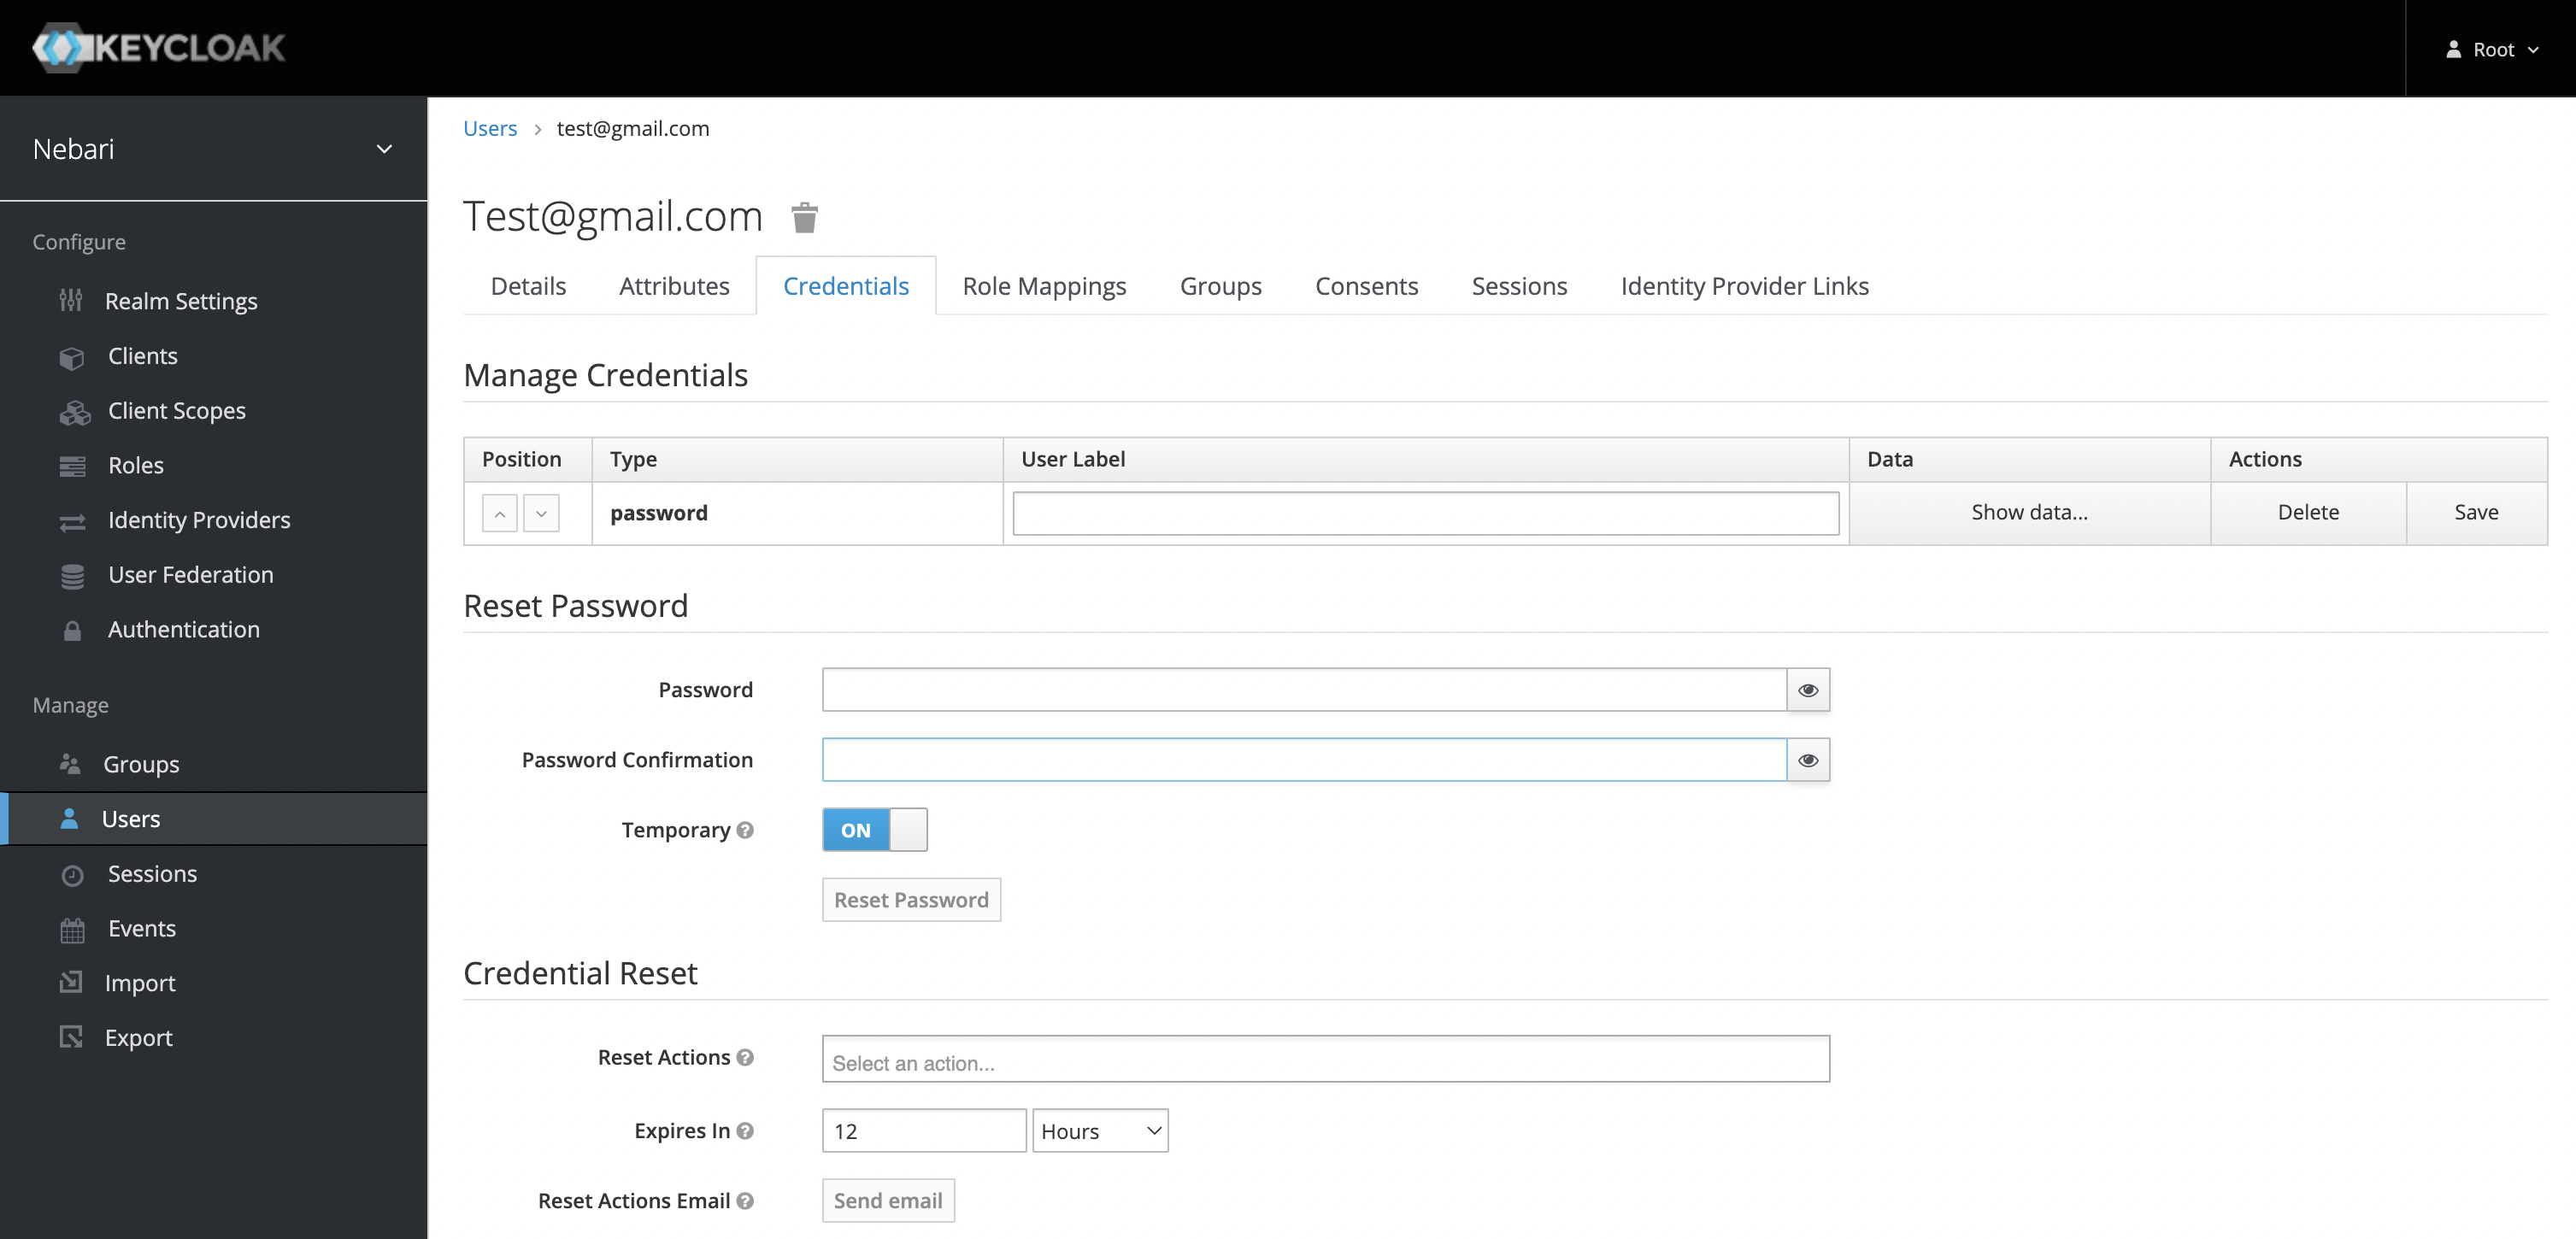
If you are using the password authentication provider, you will also need to define a password for the user. It's best to put the Temporary toggle in the OFF position. Otherwise, the user will be forced to change the password on first login.
If using Auth0, GitHub or any other identity provider, the password field is not required.
Add user from the command line
If you changed the initial root password for Keycloak this method will not work.
To make adding users easier for new Nebari deployments, we've created a CLI command to help you.
nebari keycloak adduser -c nebari-config.yaml --user <username> <password>
This will create a new user <username> under the analyst group, with the initial password provided. Omit the password completely if you are using GitHub or Auth0. It will also add a placeholder email (i.e. username@your-domain) to the Email field.
Login to Nebari
Your new user can now log in to Nebari, visit your provided Nebari domain URI which will take you to the login form page and follow the How-to login in to Nebari and start a server.

In-depth look at Roles and Groups
Groups represent a collection of users that perform similar actions and therefore require similar permissions. By default, Nebari is deployed with the following groups: admin, developer, and analyst (in roughly descending order of permissions and scope).
Users in a particular group will also get access to that groups shared folder. So if user A belongs to the developer, they will also have access to the ~/shared/developer folder. This also applies to new groups that you create.
Roles on the other hand represent the type or category of user. This includes access and permissions that this category of user will need to perform their regular job duties. The differences between groups and roles are subtle. Particular roles (one or many), like conda_store_admin, are associated with a particular group, such as admin and any user in this group will then assume the role of conda_store_admin.
These roles can be stacked. This means that if a user is in one group with role conda_store_admin and another group with role conda_store_viewer, this user ultimately has the role conda_store_admin.
| Group | Access to Nebari Resources | Roles | Permissions Description |
|---|---|---|---|
analyst |
|
|
|
developer |
|
|
|
admin |
|
|
|
superadmin |
|
|
|
Check Conda-store authorization model for more details on conda-store authorization.
The role jupyterhub_admin gives users elevated permissions to JupyterHub and should be applied judiciously. As mentioned in the table above, a JupyterHub admin is able to impersonate other users and view the contents of their home folder. For more details, read through the JupyterHub documentation.
To create new groups or modify (or delete) existing groups, log in as root and click Groups on the left-hand side.
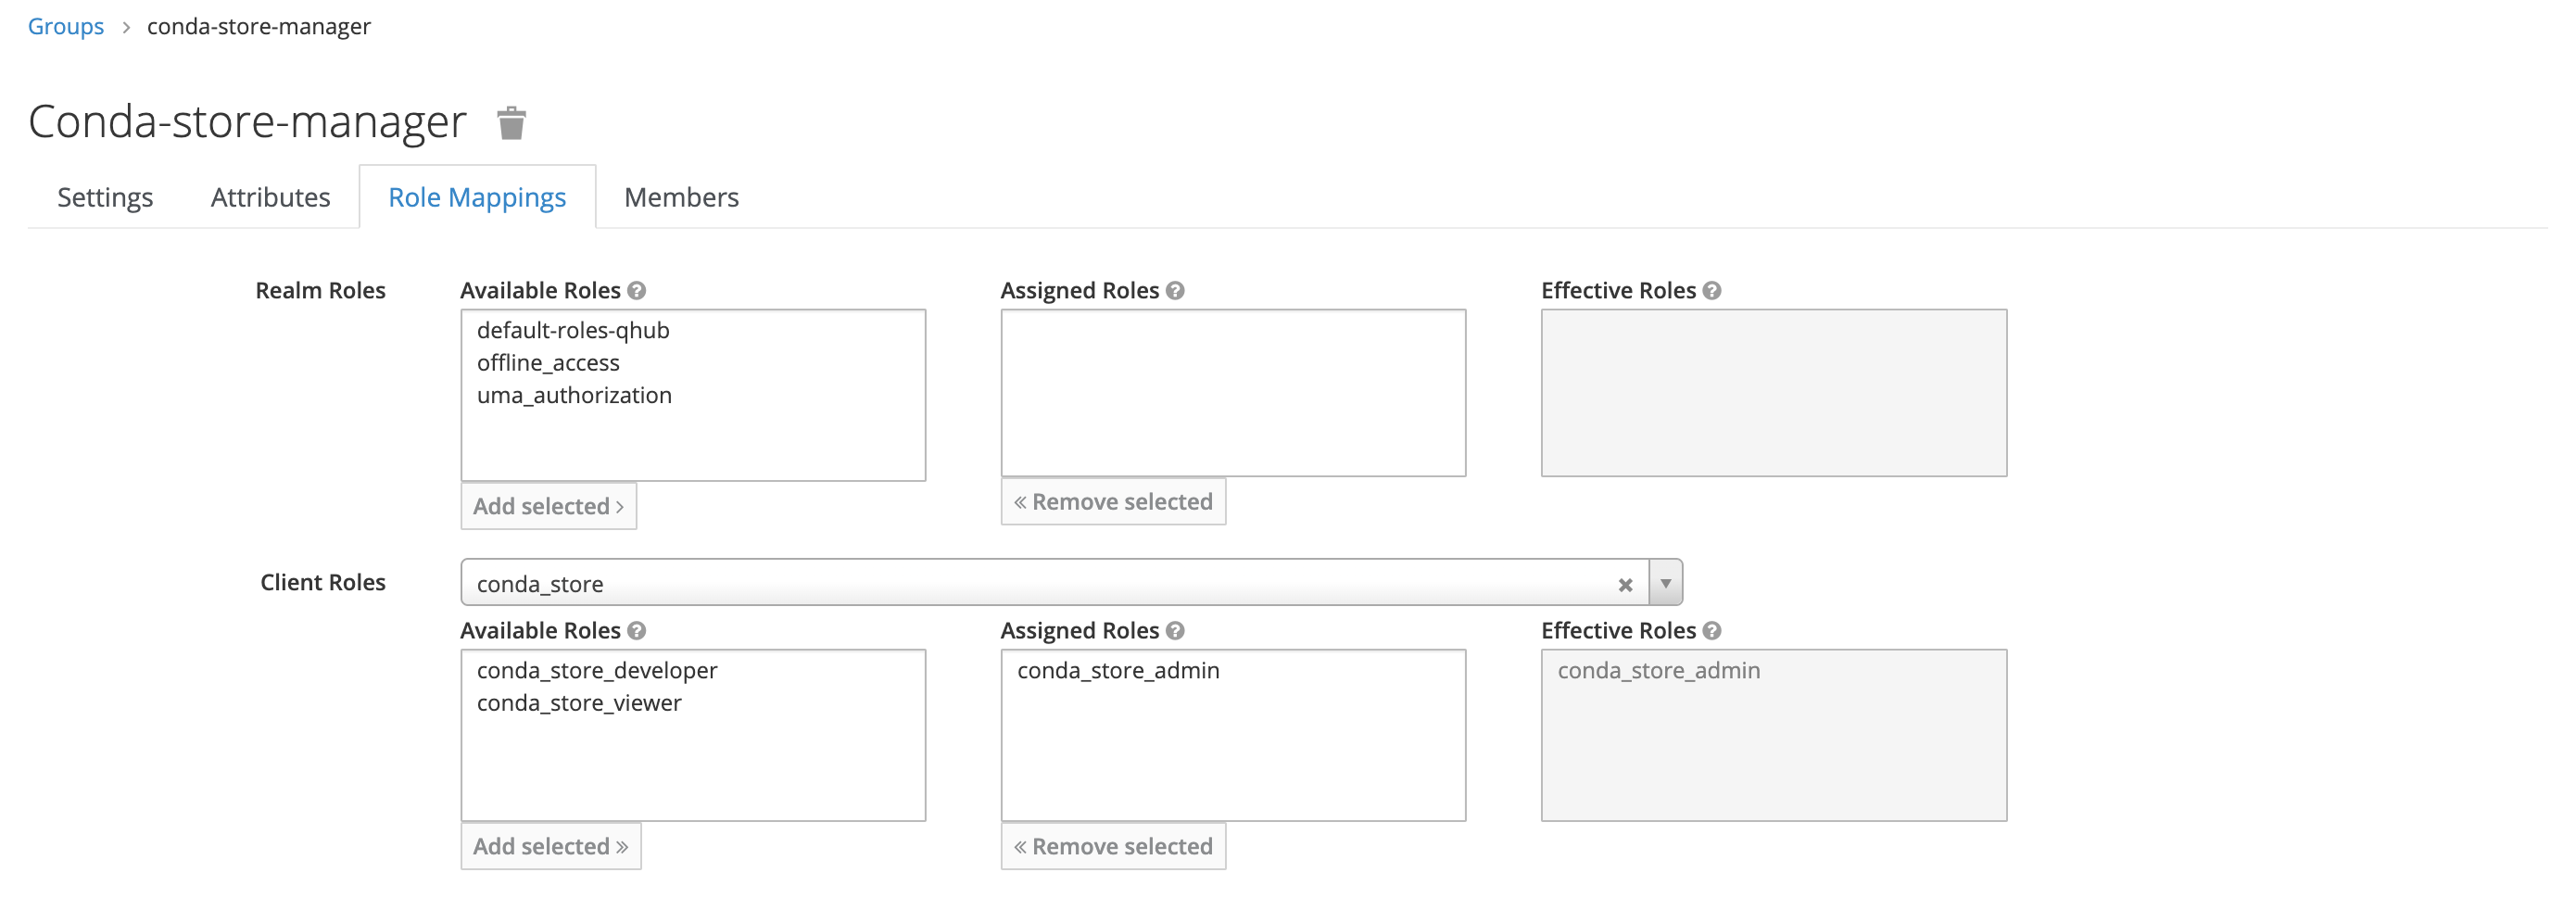
As an example, we create a new group named conda-store-manager. This group will have administrator access to the [Conda-Store service].
- Click New in the upper-right hand corner under Groups.
- Then, give the new group an appropriate name.

- Under Role Mapping, add the appropriate Client Roles as needed; there should be no need to update the Realm Roles.
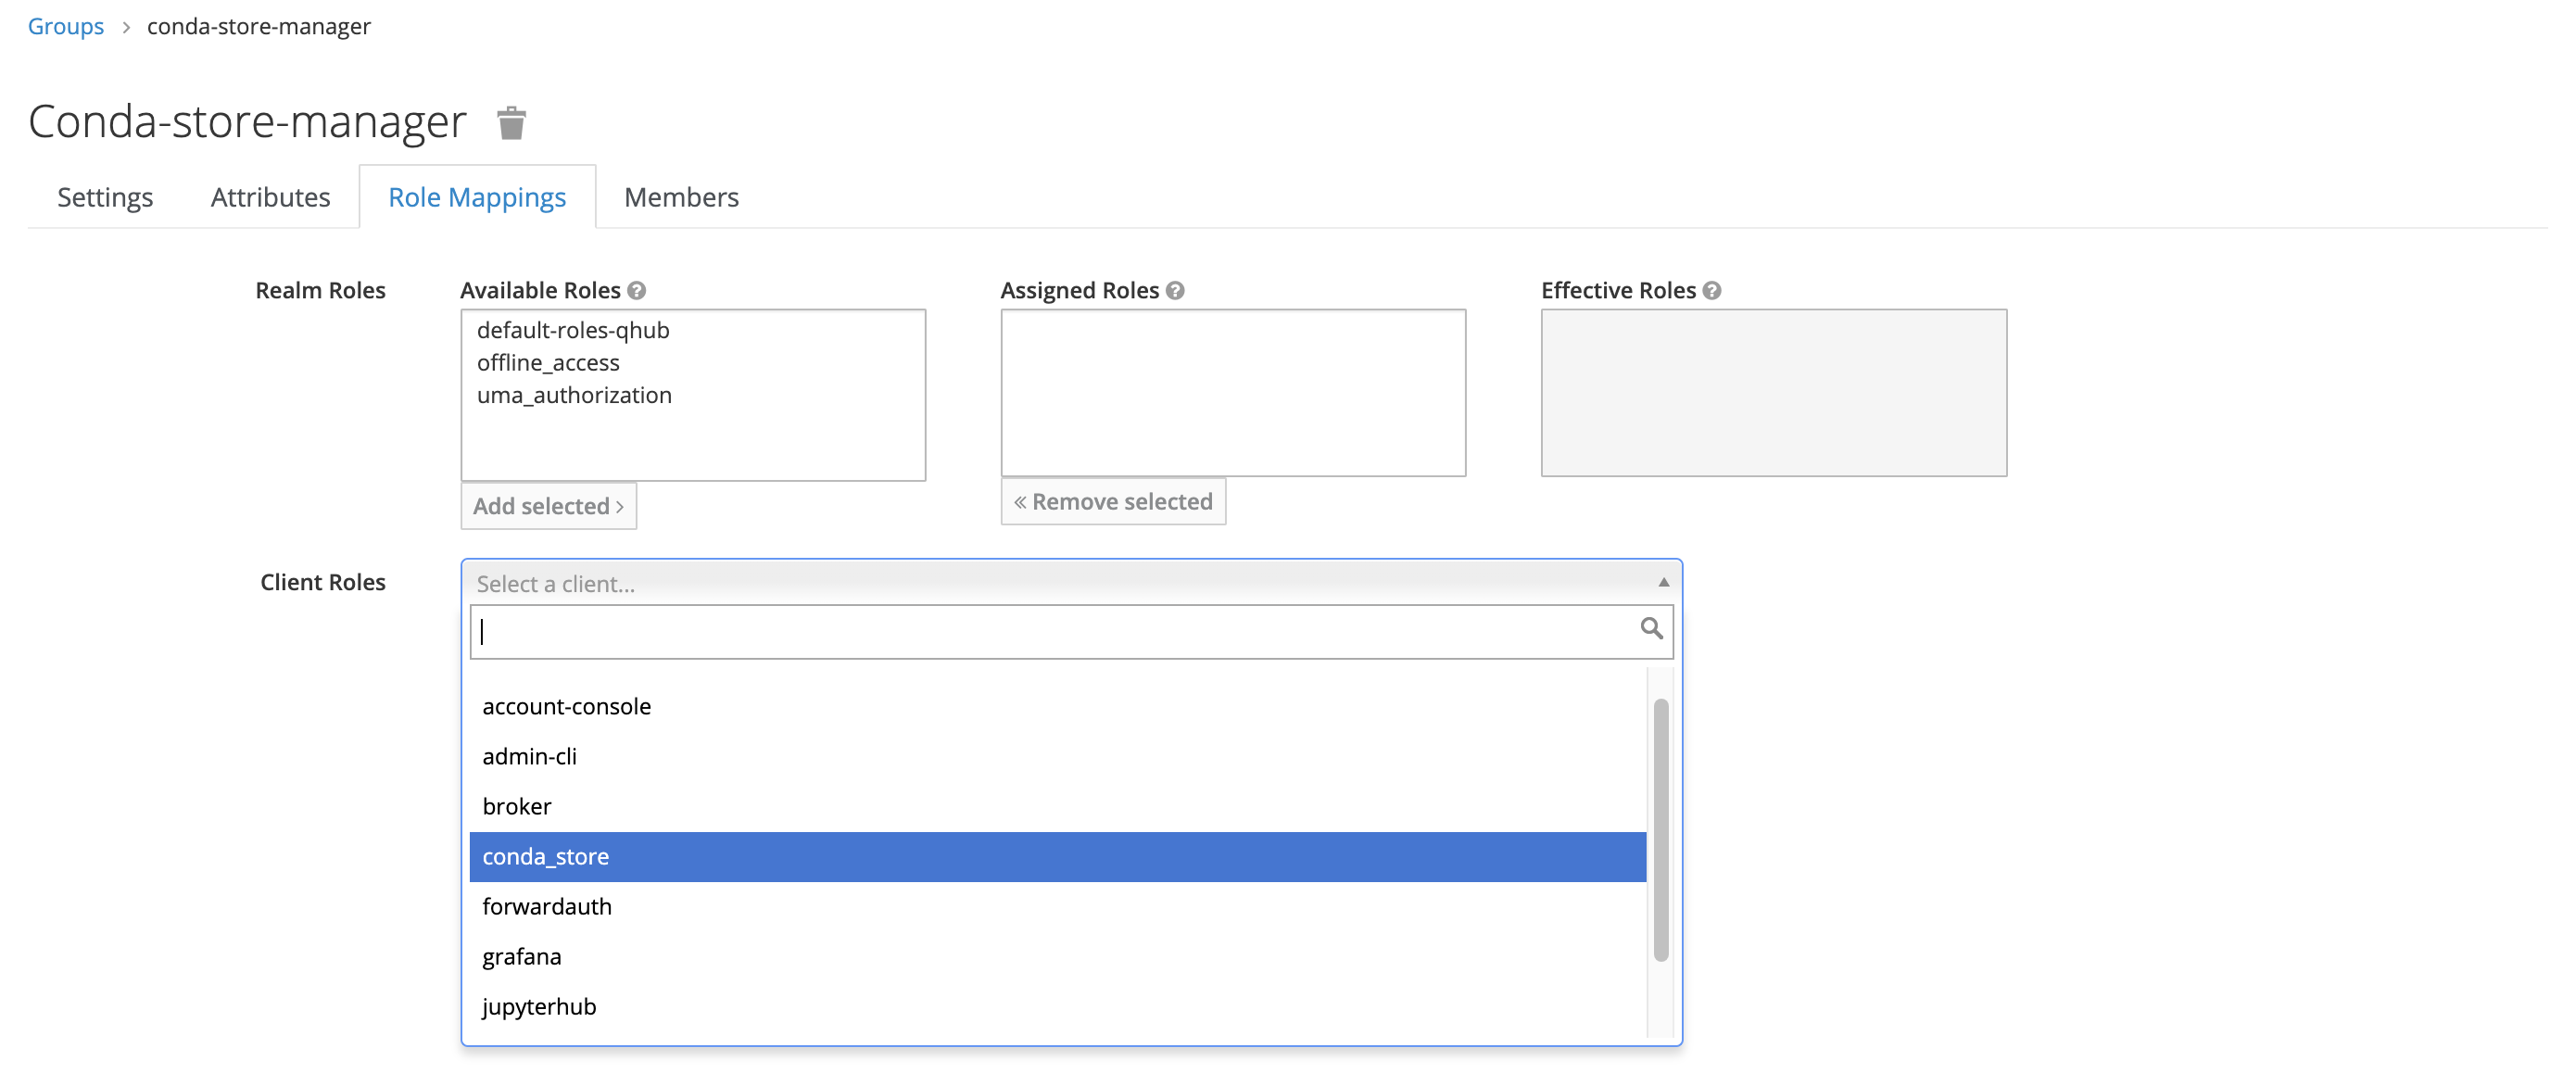
In this example, the new group only has one mapped role, conda_store_admin; however, it's possible to attach multiple Client Roles to a single group.
Once complete, return to the Users section in the dashboard and add the relevant users to this newly created group.