Manage packages and environments
Nebari uses conda-store for managing and sharing reproducible
environments (collection of specific packages and versions) on the platform.
conda-store is the most reliable way to manage your packages and environments on Nebari.
Refrain from installing libraries directly in the notebook or through the terminal (outside a conda-store managed environment). These actions could lead to subtle and unforeseen problems with your environment.
Preliminary reading
It's useful to understand basics of conda-store and how it builds on top of the conda ecosystem, to use it effectively in Nebari.
- Essential conda concepts: Packages, environments, channels, dependencies, etc.
- conda-store concepts: Reproducibility, namespaces, environment versions, roles, etc.
Nebari has conda-store integrated, and you can use it through the graphical UI.
Open conda-store web interface
There are several options for navigating to conda-store:
- From Nebari Home, click on "Environment Management" under "Services"
- From JupyterLab, click on
Nebariin the menu bar and go to "Environments" - From anywhere, go to URL:
https://<your-nebari-domain>/conda-store
If not logged in to conda-store, click on the "Log in" button in th left
sidebar and authenticate similar to the Nebari login. This is
required to be able to access many conda-store features.
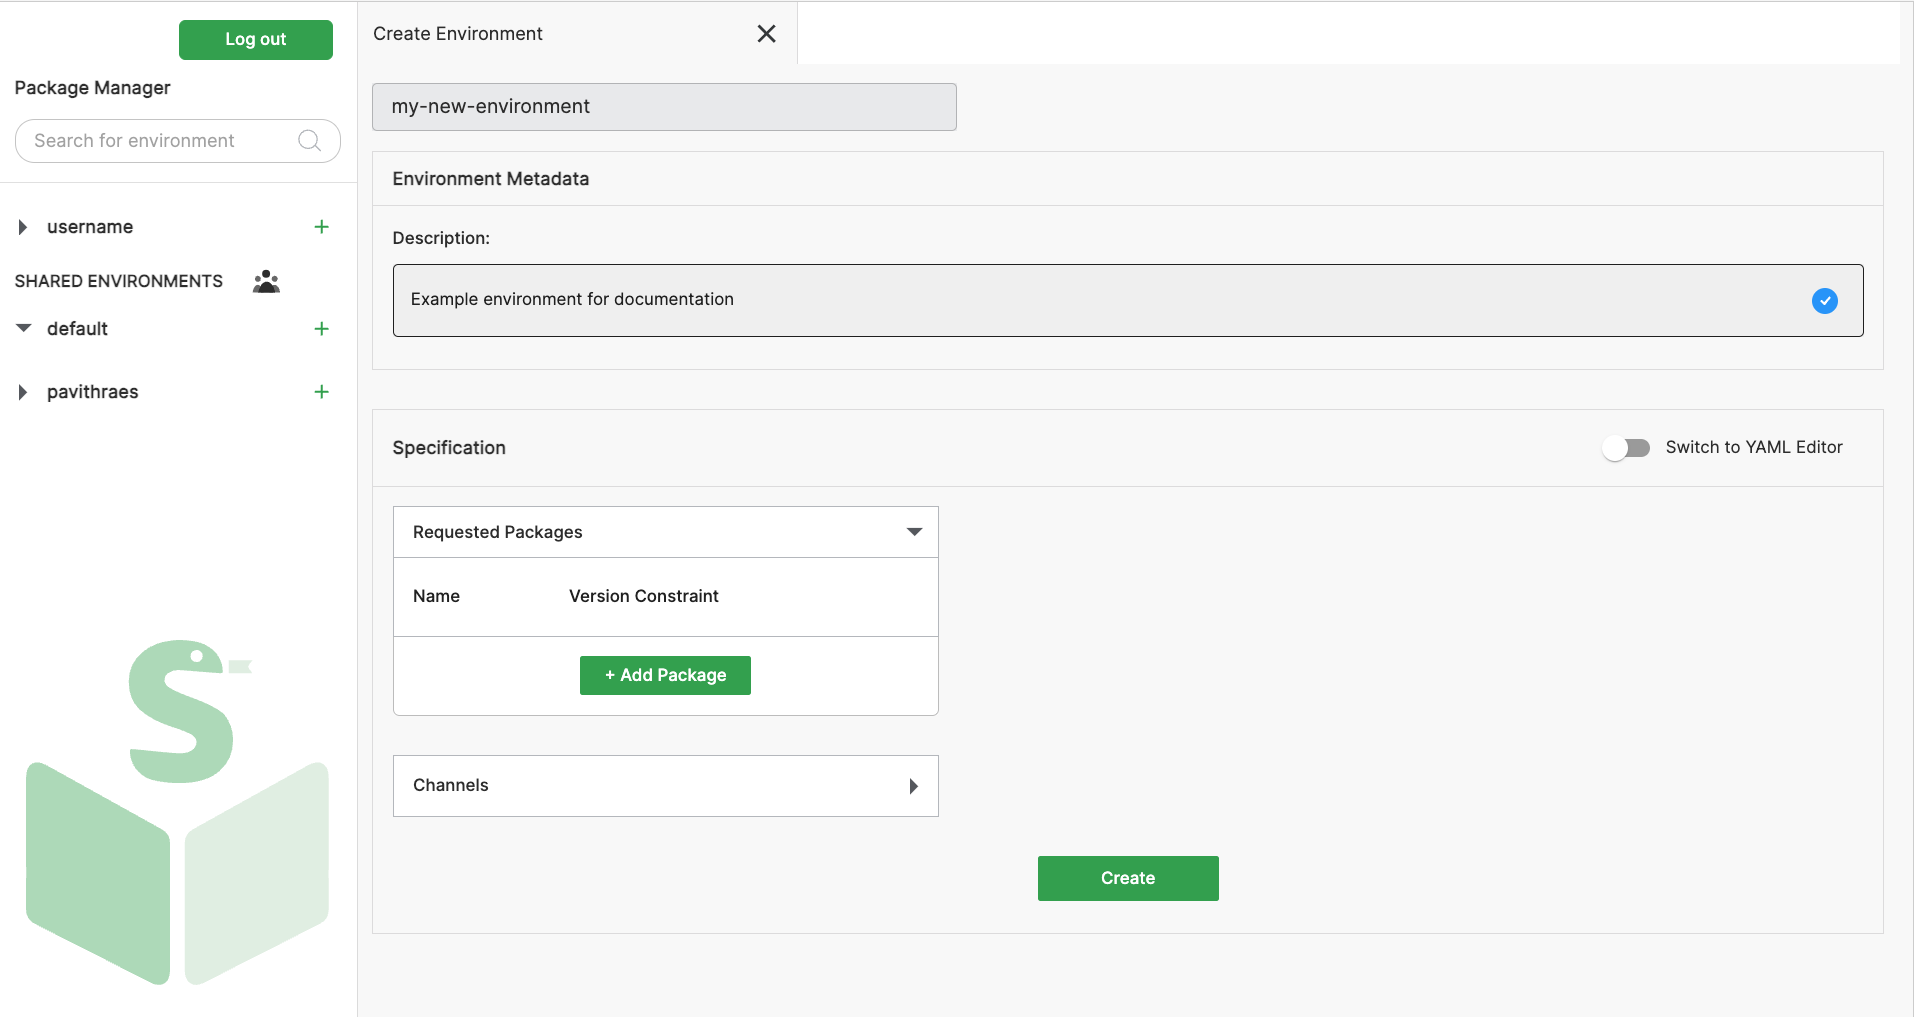
Create, edit, and manage environments
Go through the following conda-store (UI) tutorials on using the graphical interface for various actions:
Default namespaces in Nebari
A default Nebari deployment/instance has the following namespaces corresponding to Nebari groups:
analystnamespace - Users in theanalystgroup can view andadmingroup can view+edit the environments in this namespacedevelopernamespace - Users in thedeveloperandadmingroups can view+edit the environments in this namespacenebari-gitnamespace - Everyone can view andadmins can edit
As an individual user, you also have a personal namespace with the same name as your Nebari username.
If you can "view" an environment, you can use it.
Select environments in editors
Instructions to select any environment you have access to in the following editing spaces:
-
JupyterLab - In a Jupyter Notebook, click on the "Select Kernel" dropdown in the top-left corner, and select the environment.
-
VS Code - Click on the ⚙️ icon in the bottom-right to open
Settings->Command Palette, and type "Python: Select Interpreter" and press Enter to get the list of environments to select from. -
Terminal - In the terminal window, you can use
condaCLI commands likeconda activate <namespace>-<environment_name>to activate the relevant environment andconda env listto view the list of available environments.
Special requirements
Dask
Include the nebari-dask metapackage
in your environment to use Dask. This ensures you have the correct version of
dask-gateway and the latest versions of dask and distributed libraries.
By default, the nebari-git-nebari-git-dask environment (available to everyone)
can be used for basic Dask workflows.
JHub App Launcher
Include the jhub-apps package in your environment to create apps using the
JHub App Launcher. You will also need the relevant app development framework
and other necessary packages in the environment.